The ball has started rolling!
Well we have progressed into spring! I know it’s definitely spring now because I have to remind Erik to take his allergy pill everyday. That will be one thing I don’t miss: East Tennessee’s extreme allergy season. We’ve been putting in a lot of hours at the boat, and Teresa and Pete stopped by a few times which really set us ahead of schedule. I feel like we are right on track which is great because we are supposed to go to Dollywood next weekend, which I am super excited about! I learned how to play Jolene on the ukulele just for Dolly when I go see her in her kingdom land. Anyways we began the blister filling process with the fiberglass and epoxy.
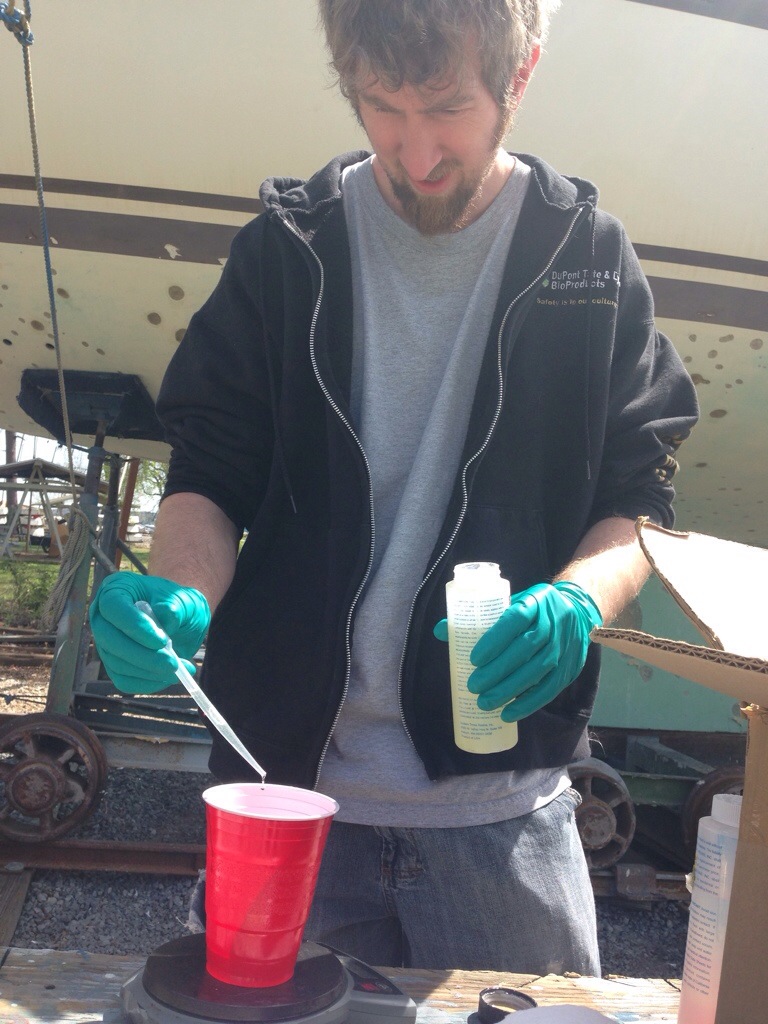
Erik weighing out the clear coat.
Erik and I started by “wetting out” the largest blisters with a clear coat. The clear coat would fully saturate the fiberglass fibers. The manufacturer suggested waiting approximately two hours after application for best chemical bond to the epoxy/fiberglass layer. For the next step, we knew we needed to cut fiberglass matting, wet it out in epoxy, and then bond to the blister. We learned as we went, but once we got a good method going, it really flew by! Initially it was just Erik and I, and he would mix up a batch of epoxy with our handy squirt nozzles (rationed in a 2:1 ratio). I cut out a bunch of random circles in anticipation, and Erik would dip in the cup of epoxy then applied with his fingers to smooth out the glass and ensure there were no air bubbles. Then Pete and Teresa showed up, perfect timing! We found the mat could stick to the tacky blisters, so Teresa began cutting size specific circles while Erik and I would apply the epoxy, except it is much better to pour the epoxy onto the fiberglass matting. When dipping it would leave behind fibers so by the end of the cup it would be this goopy mess. This goopy mess also made it difficult to smooth out the blisters because again tiny fibers shed every time fiberglass and meet. But we managed and got a lot of ground covered. The next day Erik and I focused on some of the largest blisters we had, which were in our keel on the port side.
The next weekend we were graced with another 0% chance of rain forecast so seized the opportunity to do boat work. Having the largest blisters filled with fiberglass, we had very small guys we needed to fill in. These blisters were all smaller than 1-2″ and no deeper than one layer of fiberglass and gelcoat (which our gel coat was insanely thick in some spots!). We wetted out the blisters initially again and waited the two hours before starting. We used an epoxy filler that was sort of like a putty material and then faired it out with a bondo putty knife sticky-do. It was great and we covered a lot of ground. Teresa and Pete surprised with a visit again which really set us ahead. Erik has been stopping by to do boat work 1-3 days out of the work week, and we spend a full sat and Sunday out there two weeks in a row. I would definitely say significant progress has been made! Every blister is filled, and I must say that is an amazing feeling.
Erik is at the boat right at this moment actually sanding all the blisters again. He’s smoothing out the edges of the fiberglassed and filled blisters. Then a rinse will ready them for their second and final fairing. The epoxy forms a blush, so by sanding them he is preparing them for another strong chemical bond. Which is what we are planning on doing tomorrow. It’s awesome to see how much work we’ve put in yet, and I really can’t wait until we start with the barrier coat, and then of course the final coats of a hard bottom paint.
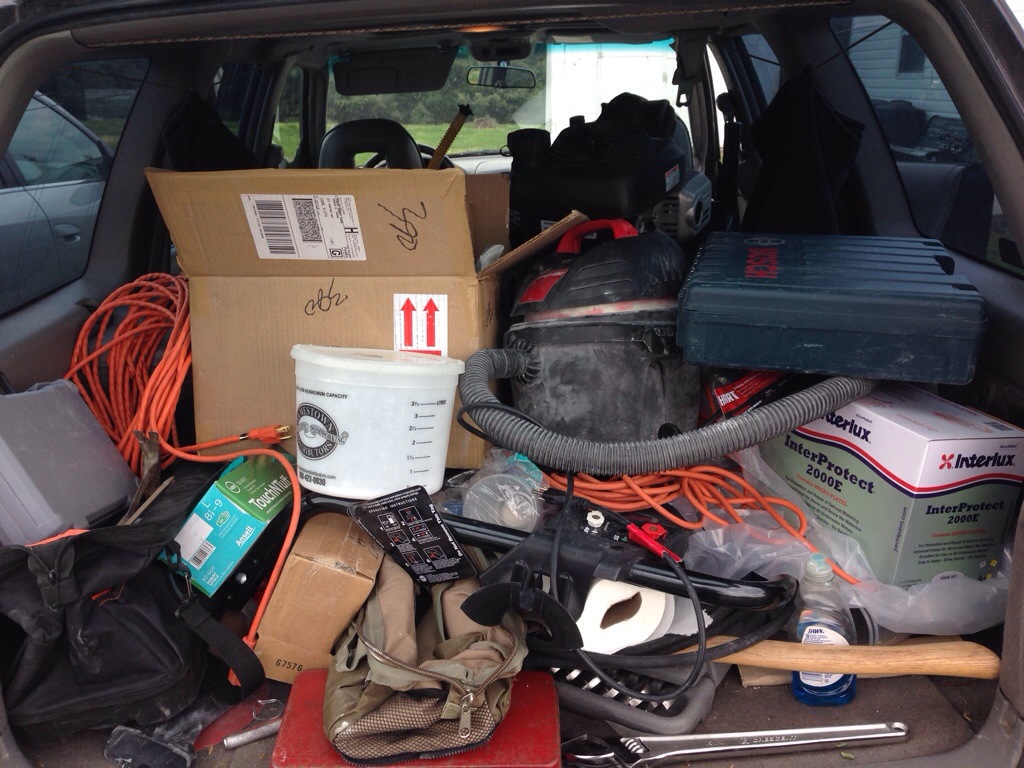
You might be in the middle of a boat refit if your car looks like this. The subarau is now called the Boat-Mobile.
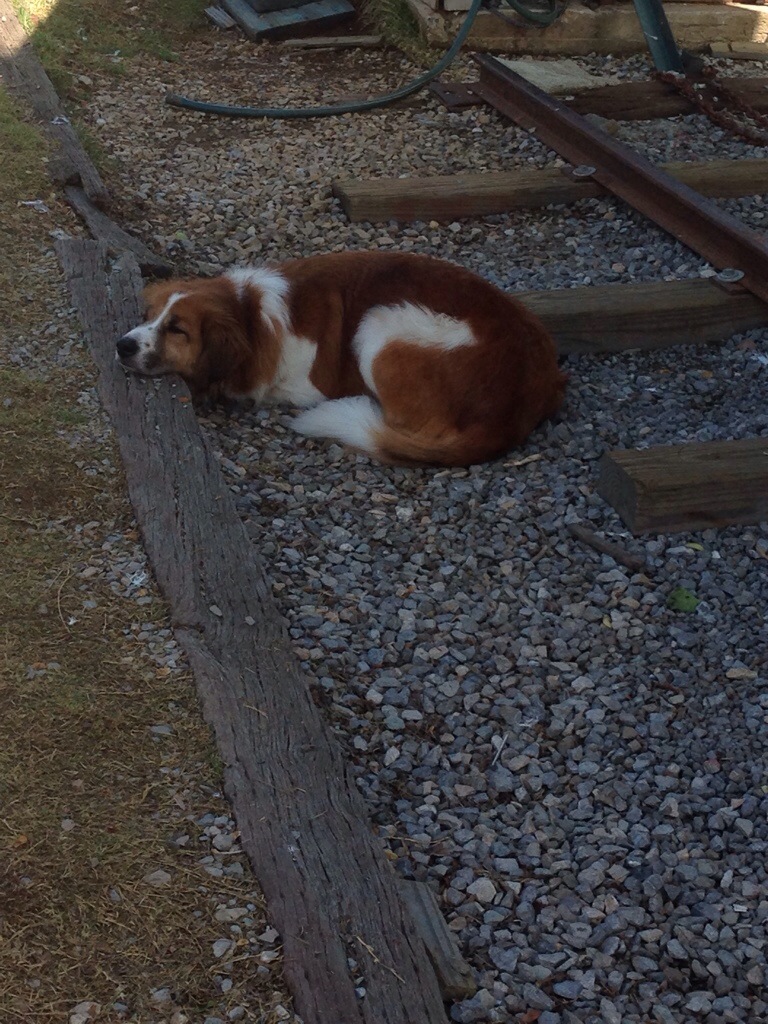
Bryson has been coming with us every weekend and is officially a boat yard dog. Yes Bryson, that gravel and wooden railroad tie look super comfy to me too. Forget all the sunshine and grass, Bryson wants shade and cold hard gravel.

Do you remember what you used for the epoxy filler on the small blisters?
Sorry it took so long to respond! We used Interlux Watertite epoxy filler: https://amzn.to/2Xxnlv3 , which was convenient and worked well. You could also make basically the same thing from whatever epoxy you have on hand, collodial silica (thickener), and glass microballons (to ease sanding).