
Hatching a Plan for the Hatch!
Our plan for our leaky, rotted, broken galley hatch…
The begining phase is panic. It’s never a good feeling when you find something you don’t want to find. The balsa wood was just so rotted and I thought “how can we fix this problem?” After a few ideas and postings on our go-to sailing forum, we decided the best solution was to scrape all the surrounding rotted wood out! On some edges the rot was an inch deep, but on one paticular edge the rot went at least 3 in. which doesn’t sound too bad until you remember it is a thin sandwich between two fiberglass layers. We scraped with a flat head screwdriver and oscillating tool and started getting nervous thinking we would never get to dry wood. But we did. It was a good feeling.
The second phase is materials. Erik got right on that and decided the best thing to fill the void around the hatch was a material called “G10”. This stuff is extremely strong and is just fiberglass and epoxy in 1/4″ and 3/8″ sheets. We would be using our handy epoxy/resin system we’ve been using for all our fiberglass work. And that was it! We measured how deep around the whole hatch and cut our G10 accordingly.
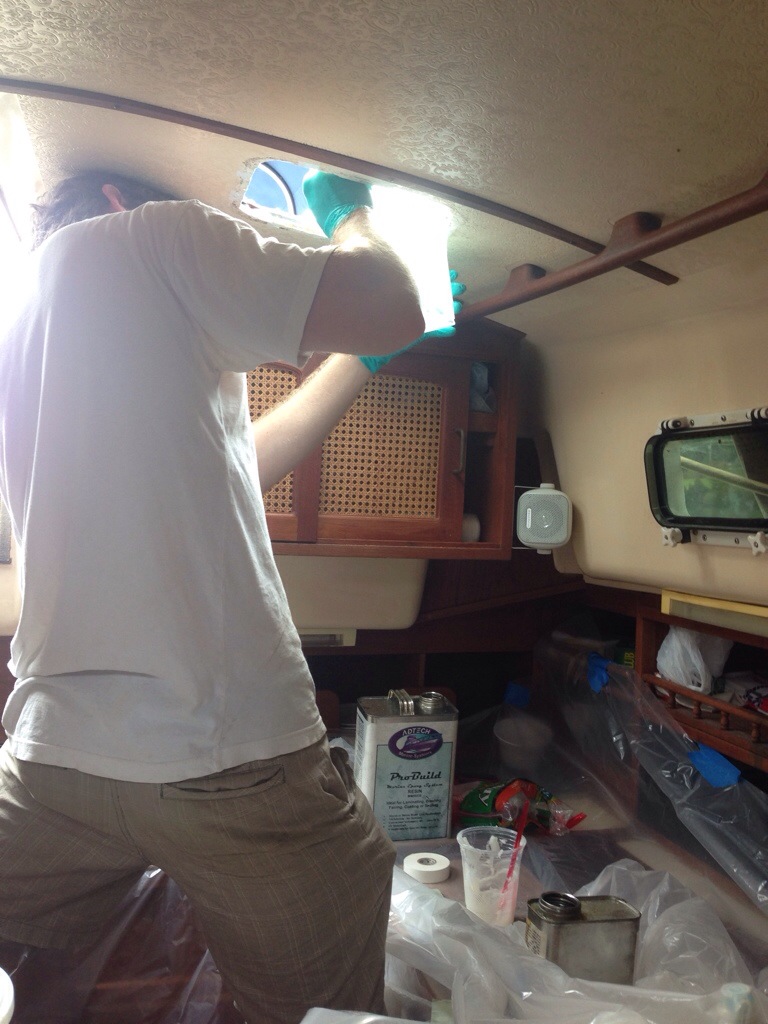
Third phase: fix it! We whipped up a batch of epoxy after the G10 was cut and used similiar technique for the core repair; the runny batch went in first to fully saturate the wood then a thicker mix was used to secure the G10. Erik did great work, I was on mess patrol cleaning up drips as needed. 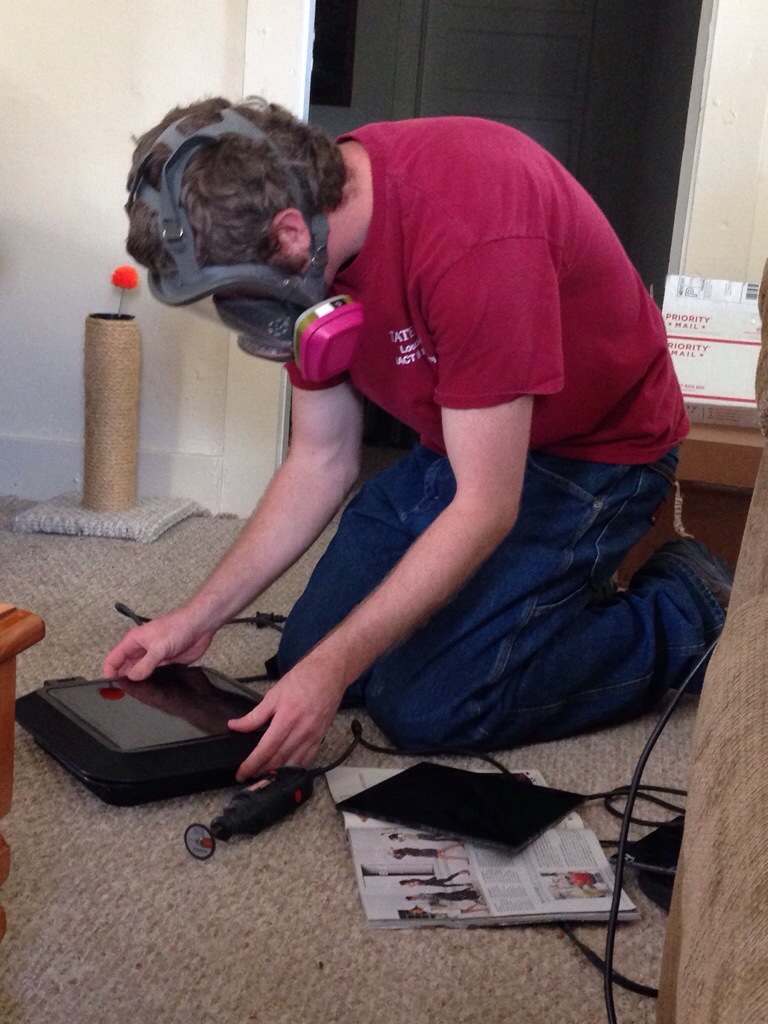
So the reason we started this project in the first place was because the acrylic was cracked on the hatch. After looking at prices of new hatches ($250 and highger!) and the prices of a sheet of acrylic ($15) we opted to just get the acrylic. Erik cut it with a cirrcular saw to get the same square shape, and as pictured above used a drimmel tool to round out the edges. Obvioulsy the living room floor is the best place to do this type of work 😛
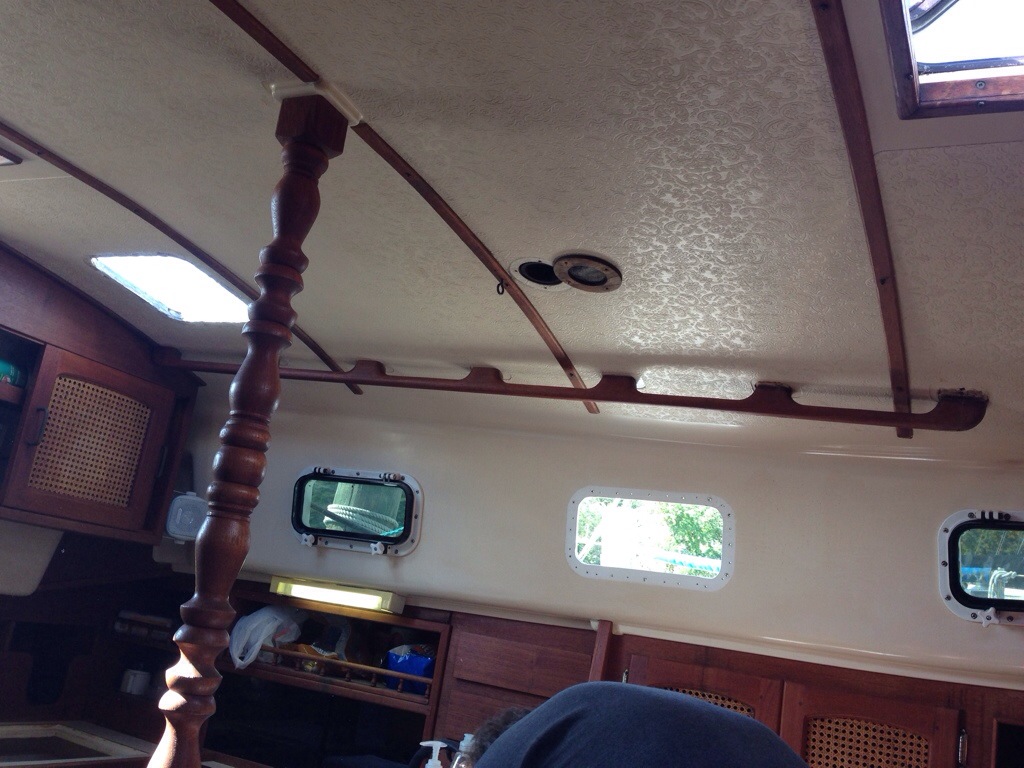
We have successfully sealed and repaired the hatch hole, the acrylic is good to go, but we still have not completed the repair. The reason… because the silicone caulking (not sure of the technical chemical name of the sealant, but we will be using SikaFlex I believe) we will use on the acrylic is also good for re-sealing our leaky port windows. And when we detached our window it was pretty obvious why it was leaking. The port has 31 screw holes! That’s right, 31! The interior port has 16 screws, the exterior trim ring has 15, and they alternate. So we are going to re-think the system. Thru-bolting the port will eliminate unnecessary holes in the boat so 160 of those are on order, new trim rings are on order, and now we have 2 holes in our boat! Don’t worry, they are tarped well. It’s pretty awesome to see how Erik has methodically worked around the boat checking every exterior fitting. I think there is maybe 3 more places we will be checking, but soon enough the exterior will be completed!
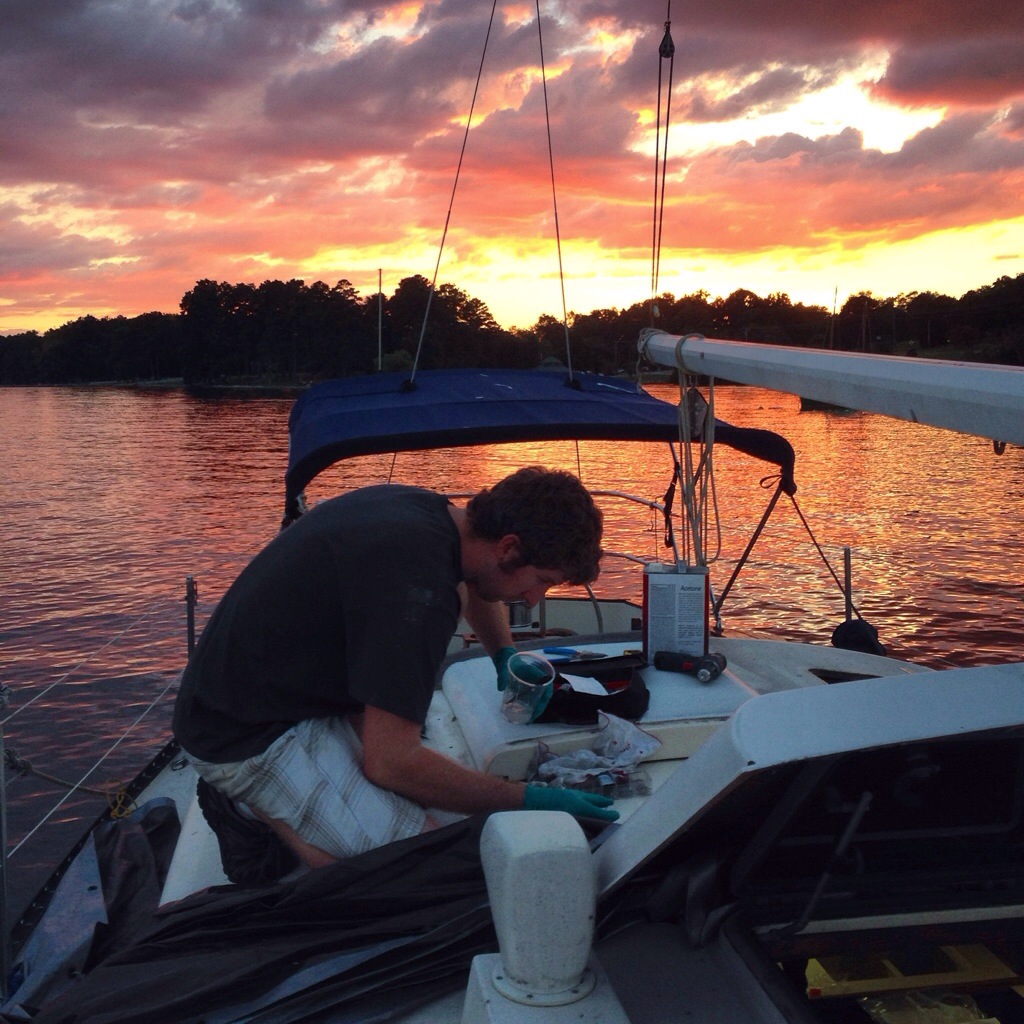
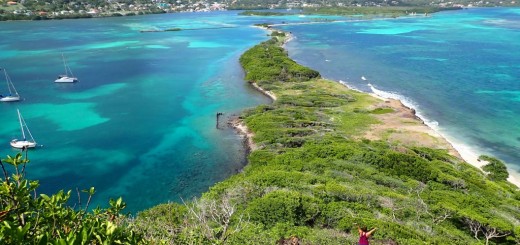
One day while just doing a few odd tasks around the boat Erik removed the hatch cover and checked the screws holding it down. They were dry! The first no-surprise project we’ve done in a while. Above he is using epoxy to re-pot the holes. He’s gotten very good at this by now. Quite a magnificent view.
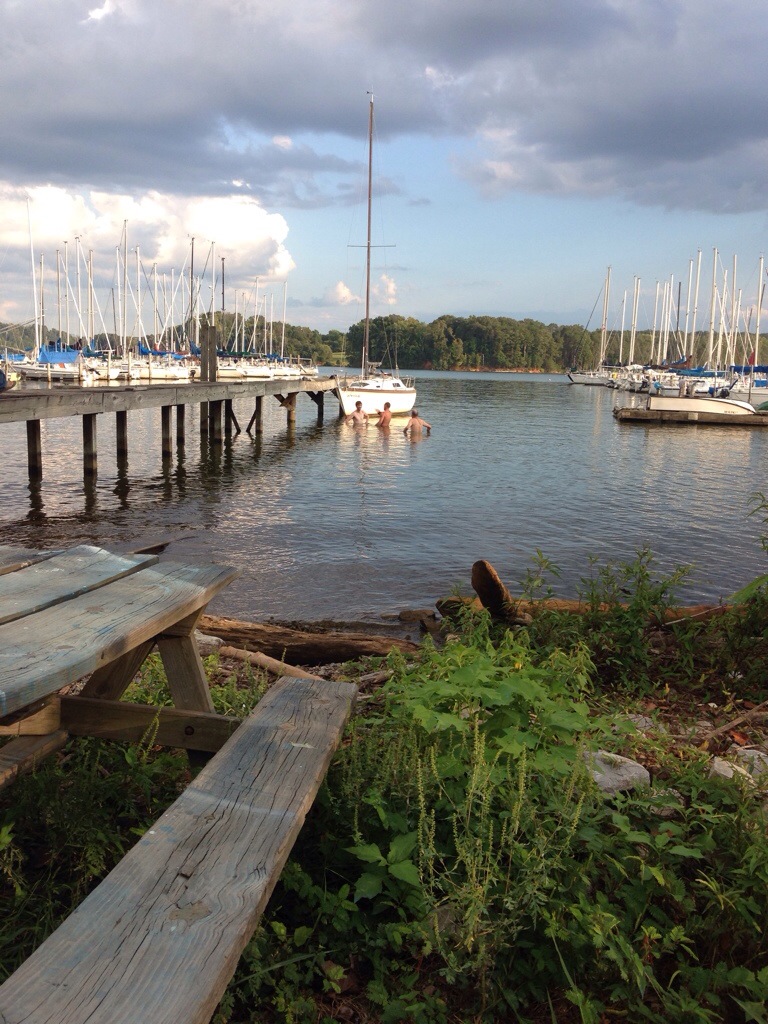
We also completed our “lift training” at the yacht club. We have access to a lift and have to pay a small daily fee for use with a maximum of two weeks out at a time. This is a huge perk considering most places charge at least $200 for a haul out. The yacht club also has a “lottery” at the end of the year. Since we are in East TN and the lake levels drop during the winter months, the lift is unusable once the water gets low so one lucky boat is able to pull theirs out and leave it on the hard until March when the lake levels rise. We will be putting our name in the lottery and will keep our fingers crossed! Anyways to even use the lift we had to get trained by a senior member who has used the lift more than anyone in the yacht club (because he specializes in bottom painting) so Erik got to go for a brisk swim! There is just a rail with heavy cart that slides down in the water, you position the boat over the cart just so, and lift it on out of the water. 80% of the boats weight is carried on the keel on the cart, while padded supports keep it from tipping. One step closer to getting our boat out of the water to see what lies beneath!
With the exterior of the boat almost complete, it is time to start thinking about the interior. We already have a good list of things we want to do… Refinish the sole (floor), oil the interior wood, fine tune plumbing, add cushion to the cushions, and re-cover the cushions. Now when we bought the boat, the PO gave us fabric that had purchased with th intent to re-do the cushions. Pros: the material was free, I really like the diamond pattern. Cons: I HATE the palm tree pattern (even though they are small they are definitely still palm trees). So now I am at a point of deciding to keep this fabric and bite my tongue, or get what I love (which is still unknown). I haven’t price-checked yet but something tells me this won’t be cheap to buy all new fabric. Another thought… keep the fabric and re-do the cushions again once we try to sell. Hmmm….
It is two sided material. See photos.
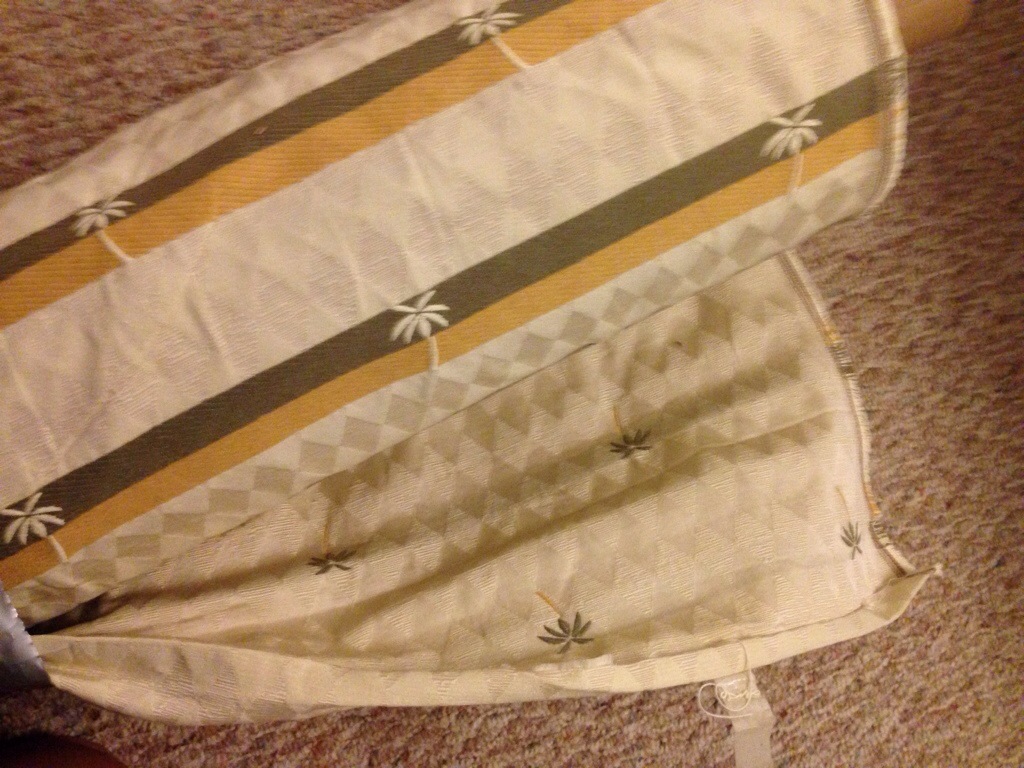

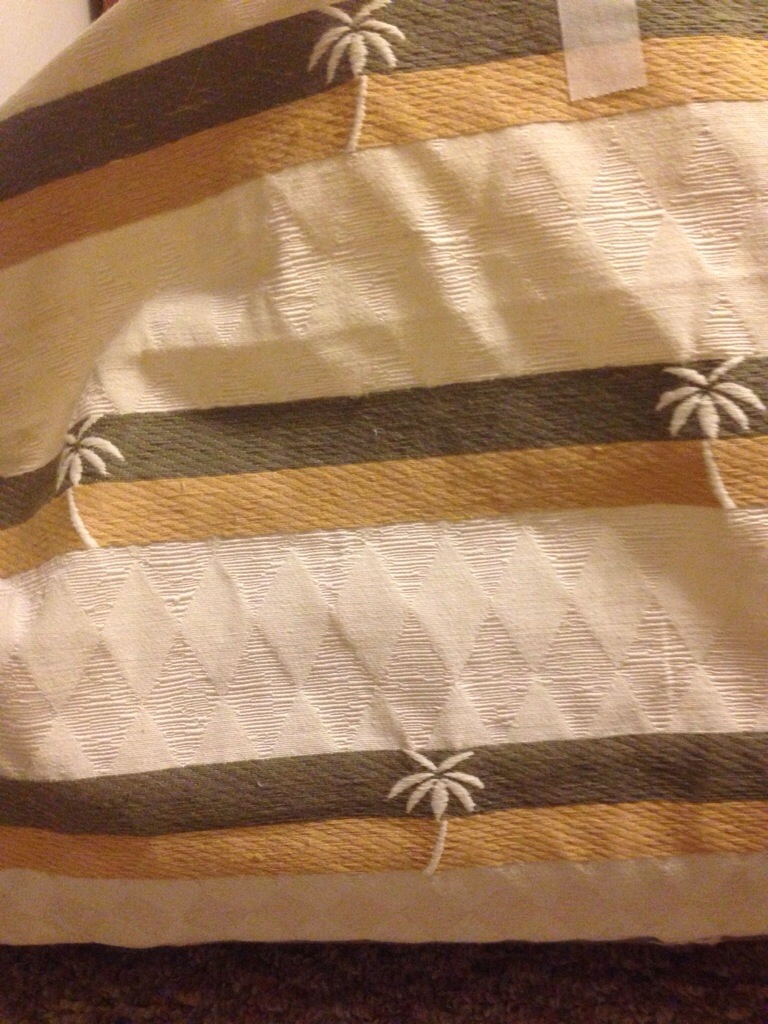
So what do you guys think? Which side do you like best?
[polldaddy poll=8348364]
Recent Comments