
Finishing Up in Gulfport
 Gulfport was a great anchorage with an awesome dinghy dock. It was so convienently located to grandma’s. After the holidays were over Erik and I had the inspiration to knock out some major projects. They were major work and major budget busters, but I feel good about our investments! My most favorite thing is our new autopilot! We chose the raymarine EV-100. This was a supposedly easy “plug and play” wheel autopilot. It has four components though and was quite tricky to install, but we really took our time to make sure we were doing it right! We started with the wheel, since that wasn’t something we had to choose where to install! That was the easy step! We drilled a hole in the steering pedestal to run the wire down, which was tricky! Once that was installed we had to choose where to mount the display. We just decided to go ahead and mount it in the cockpit so we cut a hole in the boat, thats always fun. Erik then connected that to the “brains”. The compass sensor had the most thought of where to mount since it required no metal anywhere near it that could throw off the compass, and it wanted to be in the centerline of the boat as possible. Where we chose to mount it we needed a longer cable than provided so we had to wait for that to arrive before turning it on and testing it out. We got to give it a whirl on a trip to the marina for water/pumpout. It was awesome!!!
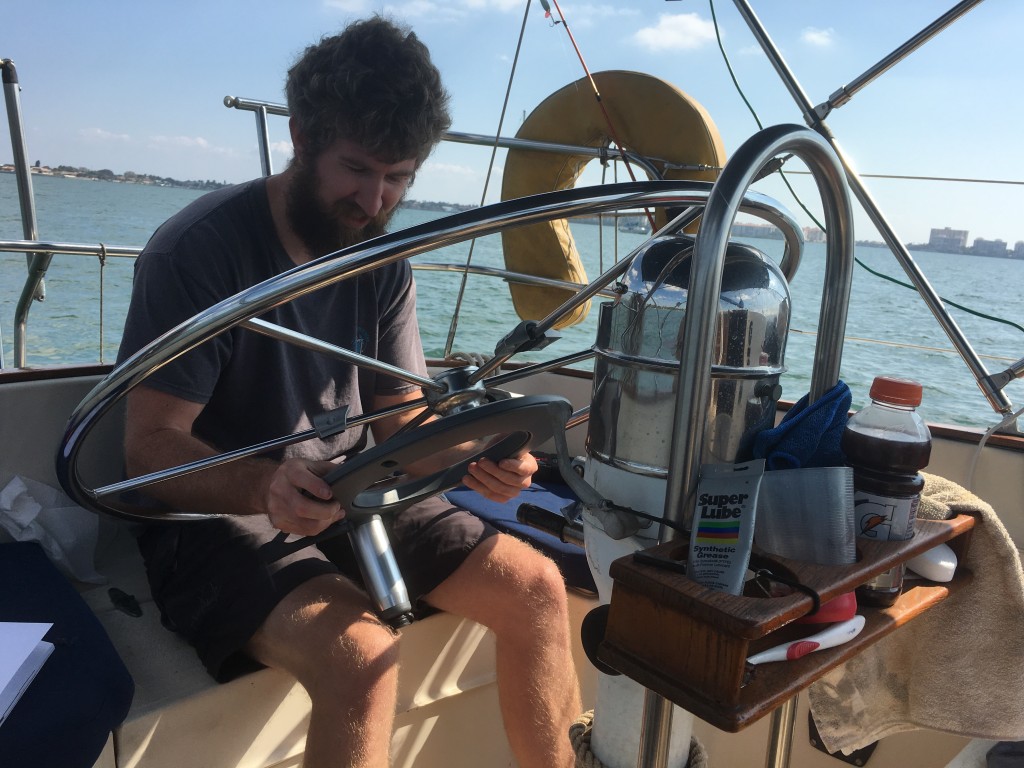
mounting the motor the the wheel
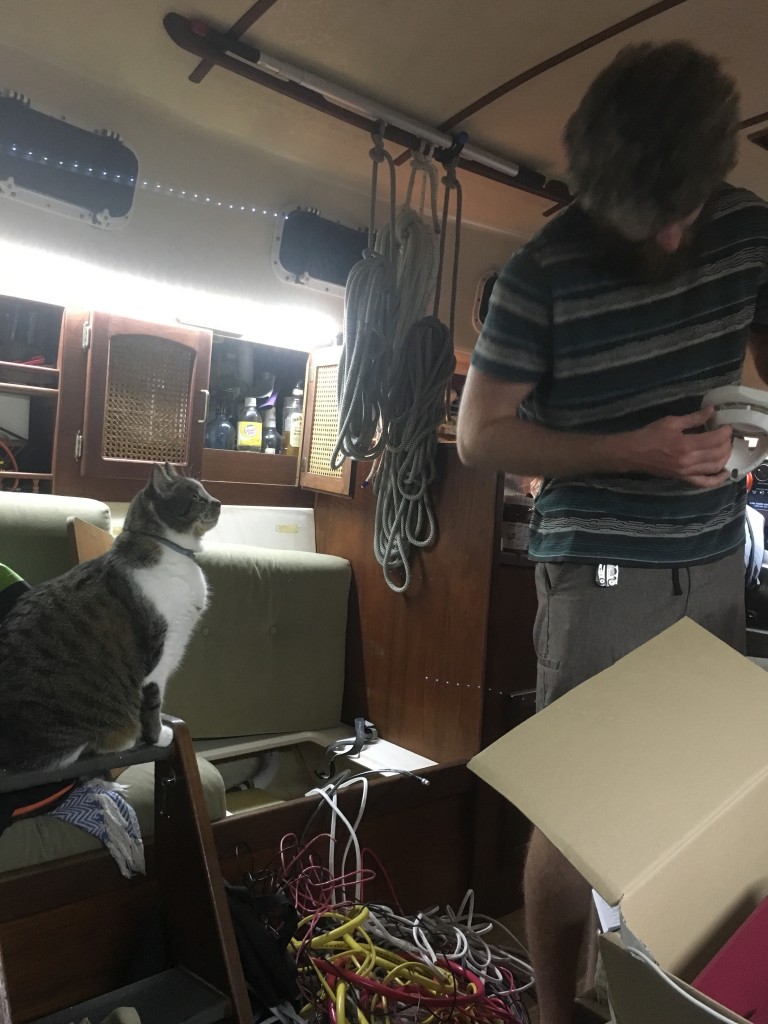
we ended up putting the compass sensor that open cubby. it previously housed all our spare wire so we rearranged a few things to make it work!
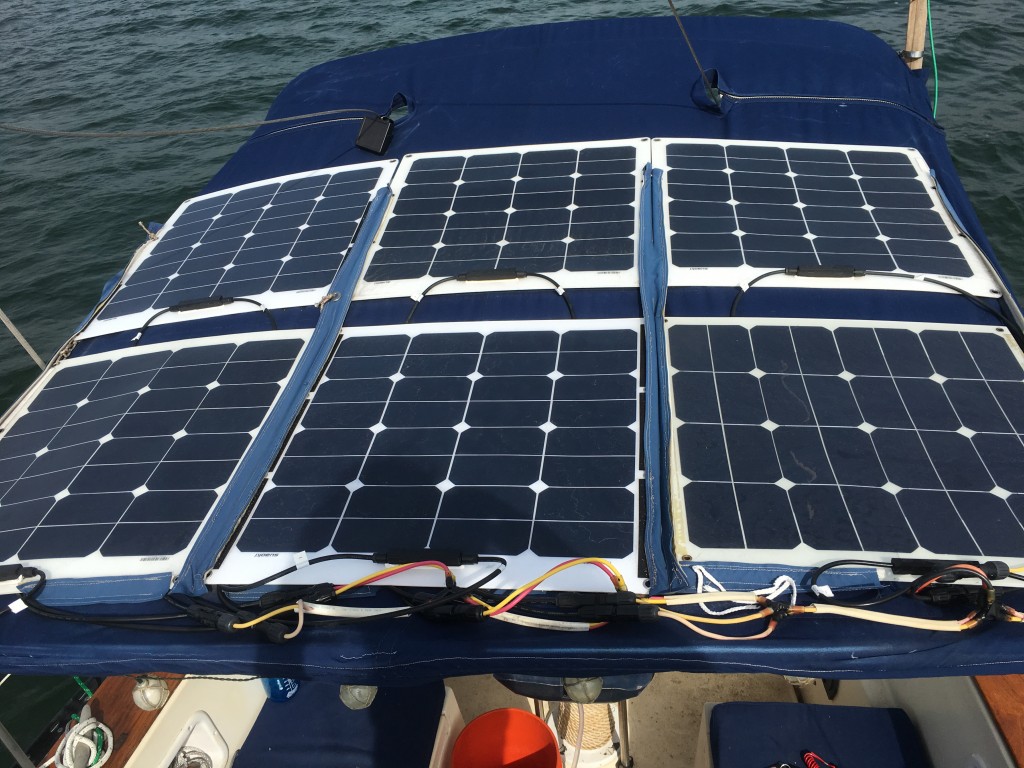
After the Renogy recall we had to send all of our Renogy flexible solar panels back, we slowly added back some flexible panels. We chose the bargain buy; these Suaoki panels. We went with the 50w option (which appears to be off amazon, but are still available on eBay). We were cruising around with just 200W but once the shorter winter days set in, we were finding that we weren’t back to 100% charged at the end of the day so we went ahead and filled up the bimini for a total of 300W of solar.
 Another little project we worked on to get our hands dirty was some winch maintenance. We have a total of 4 winches, 2 larger in the cockpit and 2 smaller on the mast. These need some general maintenance every once in a while to make sure they keep working smoothly. So we disassembled them one by one. There are tiny little cogs and gears in there, it was neat getting to see how they work. Putting them back together was almost like a puzzle. We used diesel to clean off the old grease and grime. Once clean we lubed them up with a general multi-purpose silicone based lube, superlube. Superlube has come in handy for so many projects! We even used it on our new rigging.
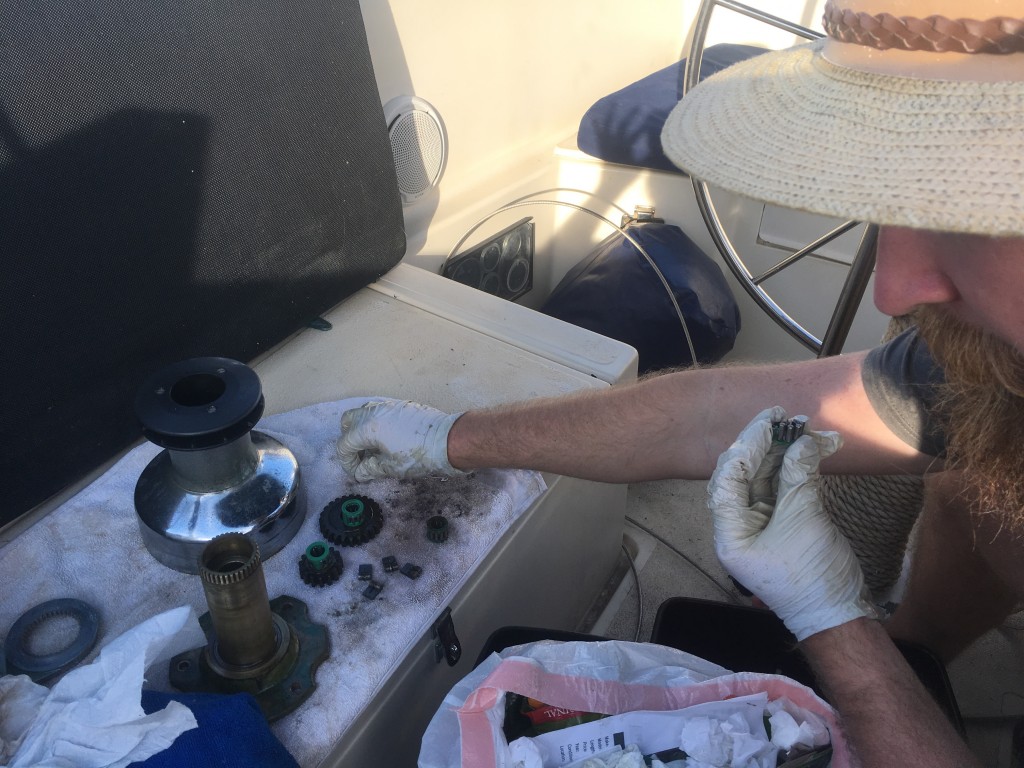
the disassembly and cleaning of a winch
Thats right I said NEW RIGGING!!!! Erik did lots of research and decided to go with sta-lok fittings for the shrouds. These fittings are great because the next time we replace we will only need the actual wire, not the wire terminals which are the most expensive part. It also made it easier for us to replace the rigging ourselves. We ordered the specific length of wire with a swage on the top part, and then used the sta-lok fittings and turnbuckles at the bottom. There are a total of 6 shrouds, 3 on the port and 3 on the starboard. On each side there are 2 that go to the spreaders, and 1 that goes to the top of the mast. We worked methodically, Erik climbing the mast and removing the old and sliding in the new. We used a wooden block and a hacksaw to cut the specific length then followed the instructions on assembling the fittings. It was easy to knock out the 4 shrouds that went to the spreaders. Once we started on working on the ones that reached the top we winched down a halyard for a little extra support. We were able to do one shroud per day. It was big upgrade! We went up one size from what was previously on the rig, and the new turnbuckles are chunky! We ordered all of the wire, turnbuckles, and swages from riggingonly.com who were very helpful with any questions and advice.
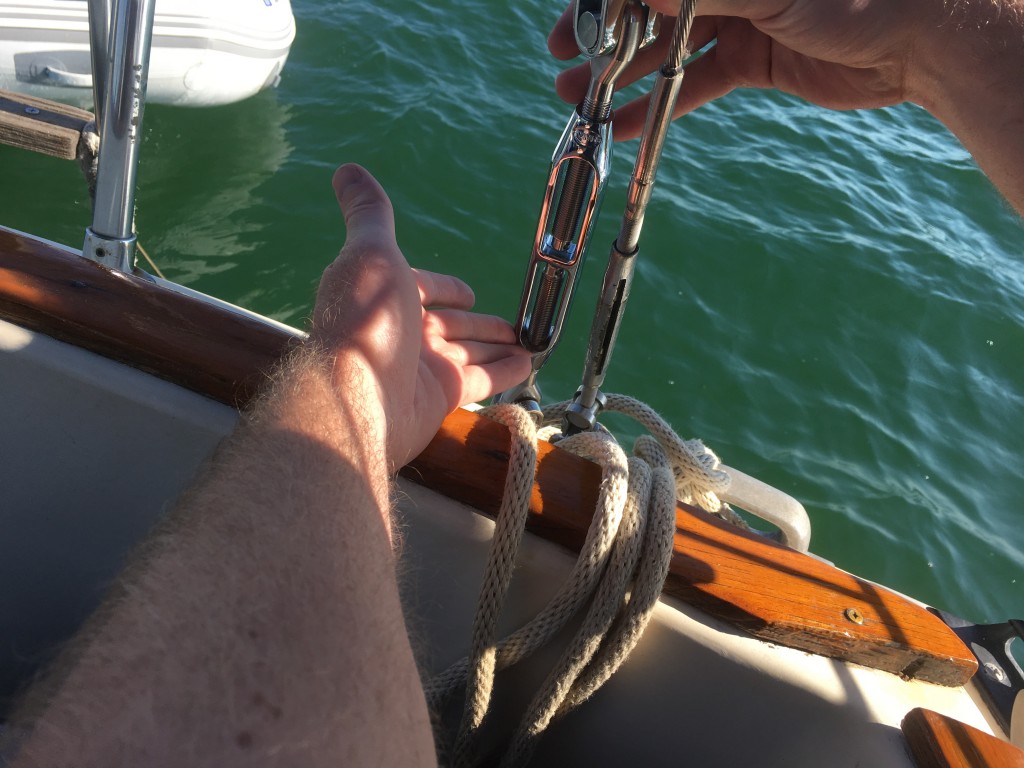
old vs new turnbuckles
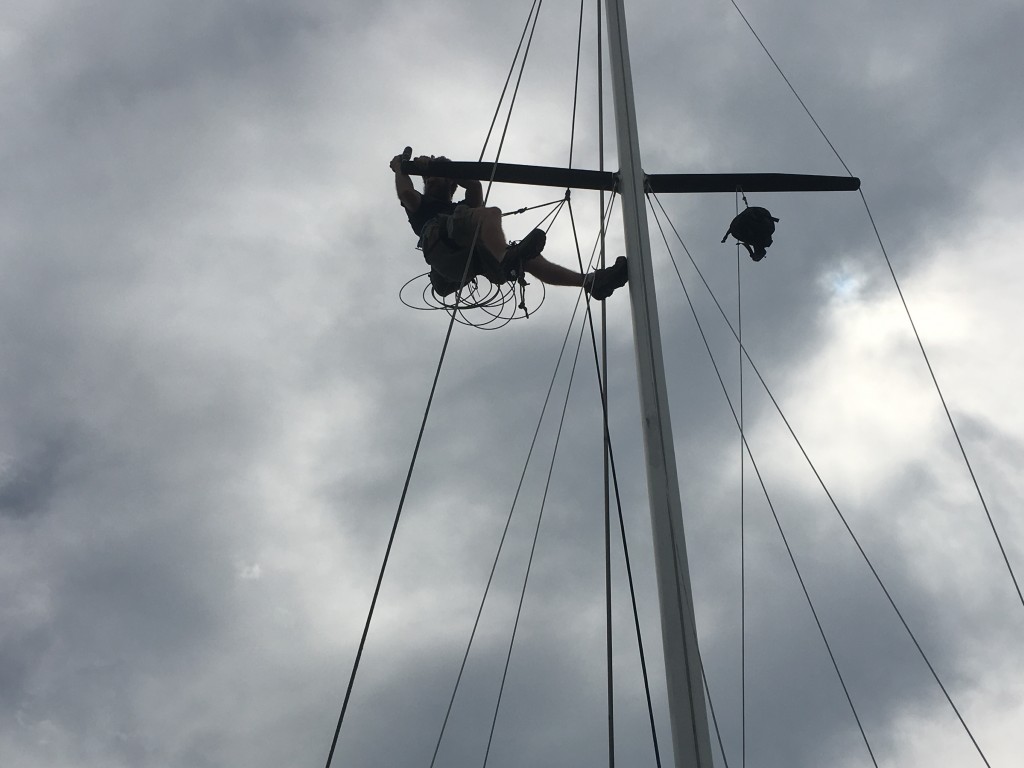
up with the new rig! he’s really good at climbing the mast
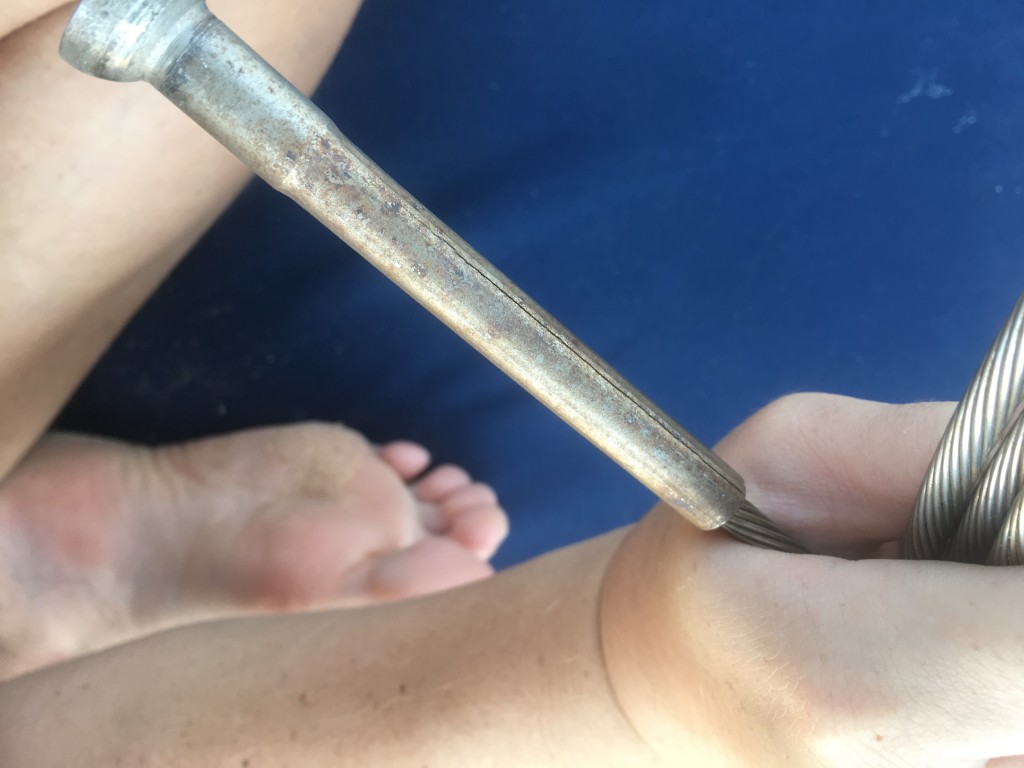
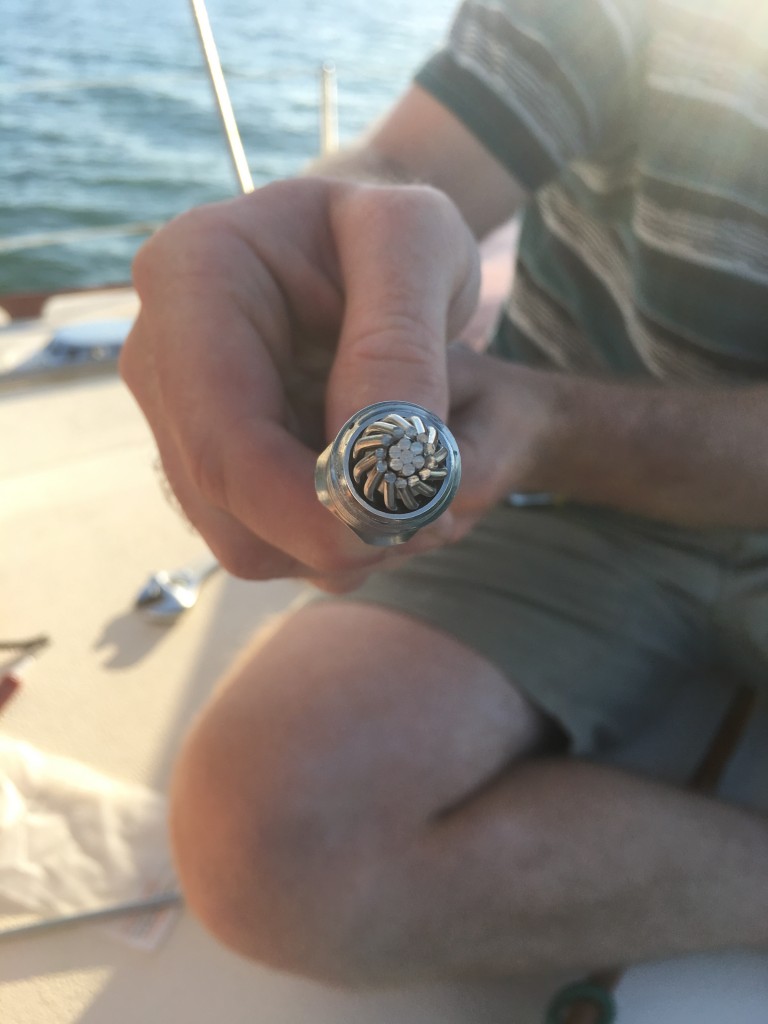
this is the old swage that sat in the spreaders, good thing we replace because you can see a hairline crack. there were a total of 3 serious issues: this cracked swage, a bent swage, and a wire with a cracked smaller wire
the sea-lok fitting all nice and ready to go
We loved working with the sta-loks, they were very user friendly and we got a good fit on all of the shrouds. However we opted for something a little bit different for the backstay. We have big plans to install a SSB radio, which needs a large antenna to receive/transmit. We want an insulated backstay antenna, and when Erik was doing his research he found that it would be more cost effective to replace the backstay with dyneema instead of traditional stainless steel with all the insulated fittings. This dyneema is a synthetic ultra-high-molecular-weight polyethylene. It’s stronger than steel and relatively new. It was a lot of research to order the bits we needed, since this project was only limited to our imagination. So after hours and hours we finally got all the things we needed ordered. But because this task would be a little trickier than the sta-lok fittings we just installed we opted to wait to install it until we had more time to think about it.
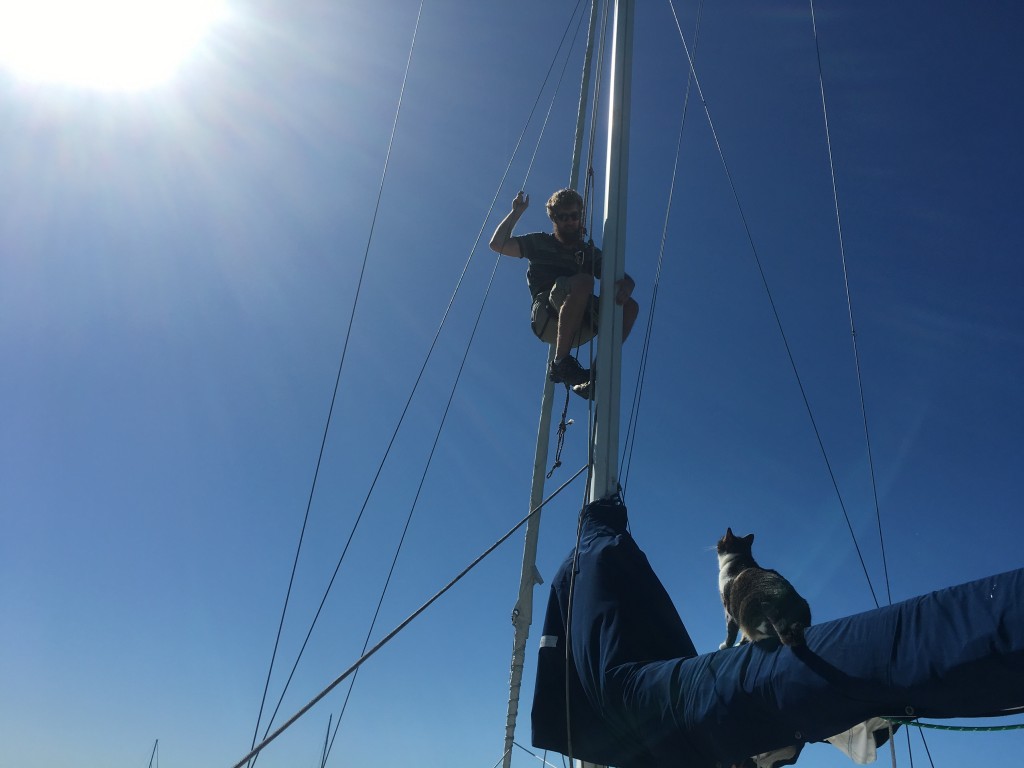
“get down from there human” – sammy the sailor cat
We were preparing to leave Gulfport and going around giving all the rigging a nice tightening when we went to the backstay, cranked it two turns, and the turnbuckle popped off!!!! We decided that we wouldn’t postpone the backstay and would indeed replace it then and there. Erik started that night on splicing the dyneema. We have a split backstay, it is one larger wire running from the top of the mast and then splits down into two smaller wires. So we used 9mm dyneema for the larger portion and 7mm for the split backstay. To connect to the mast we spliced the dyneema around a thimble and used a stem ball adapter from colligomarine.com. Colligo is leading the way when it comes to using the dyneema to replace traditional stainless steel and has tons of information on their website; they use the term “dux” for their name brand pre-stretched dyneema. We then readied the 7mm by splicing two eyes around a thimble as well. We stretched our splices to the best of our ability using our winches. The final step was using a terminator fitting, where the large dyneema was spliced around it and the smaller dyneema ran through it. We connected it all together and tightened it up with the turnbuckles. It was a very tight fit!!! We took it out in light winds to test it. It appeared to stretch a little further from the last splice we were unable to pre-stretch. So tightened it up some more. It set us back about three days but we knocked it out!!! Now it was finally time to leave Gulfport and head south.
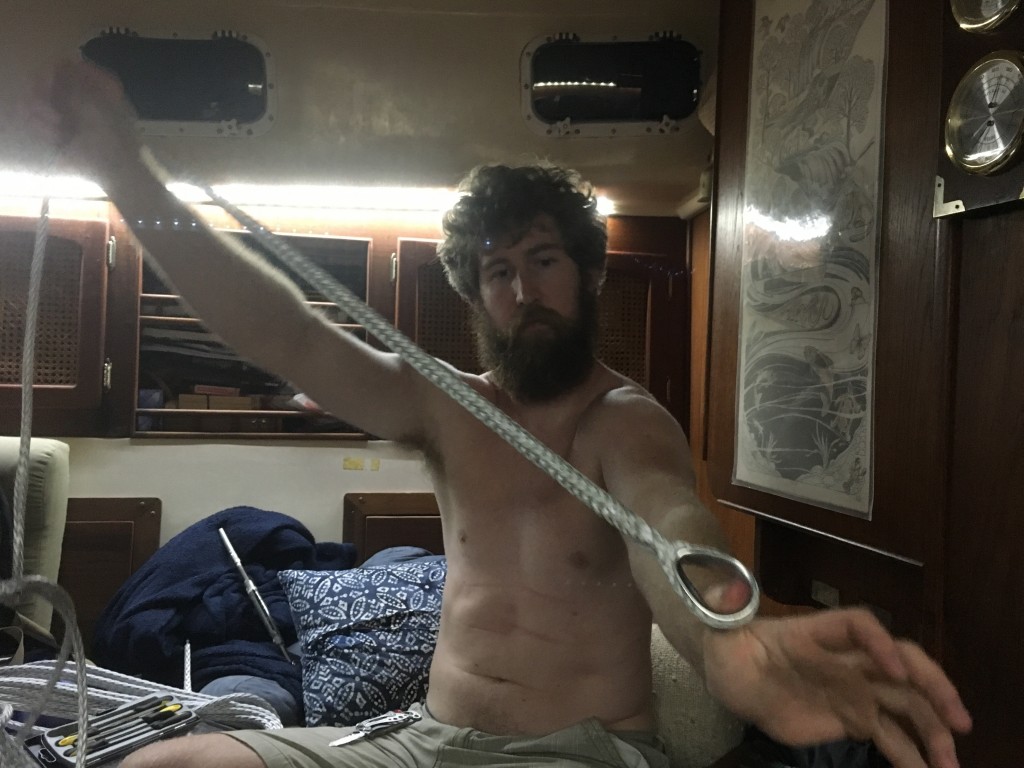
the first dyneema splice around the thimble
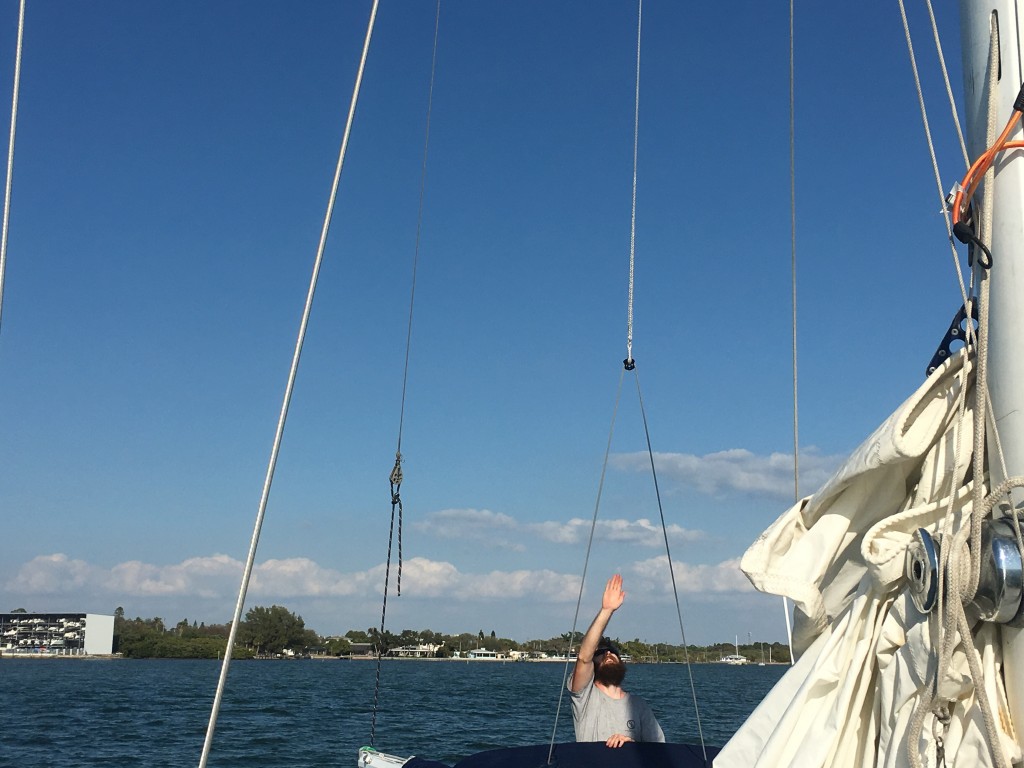
all hail the dyneema backstay!
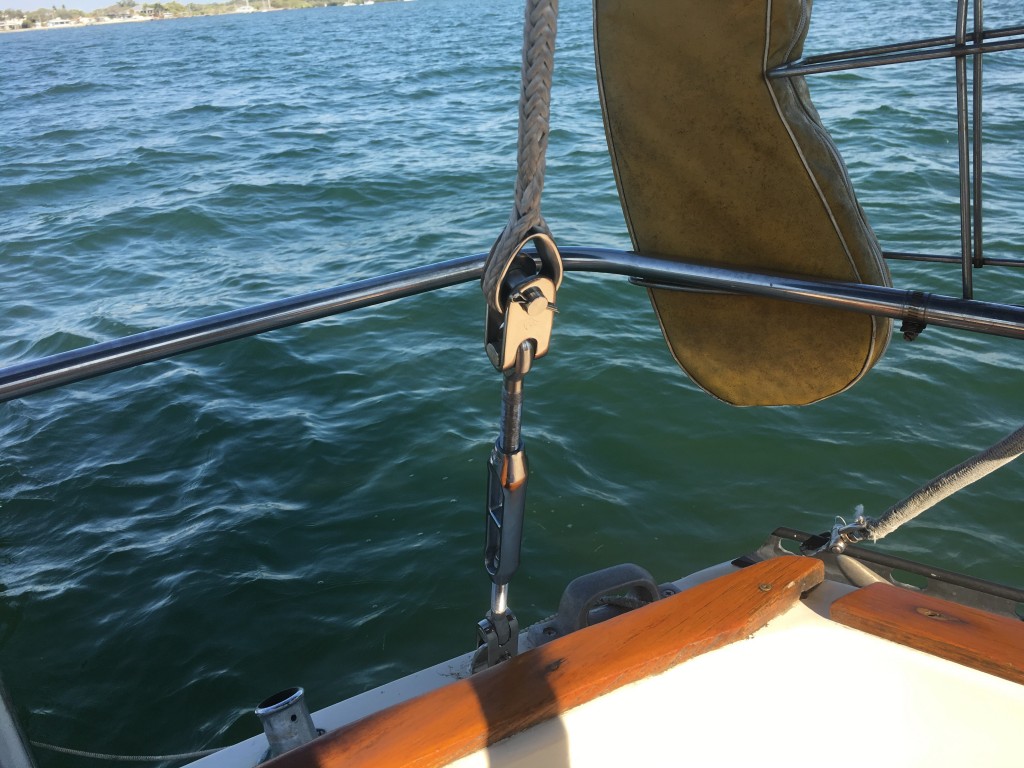
looks good!
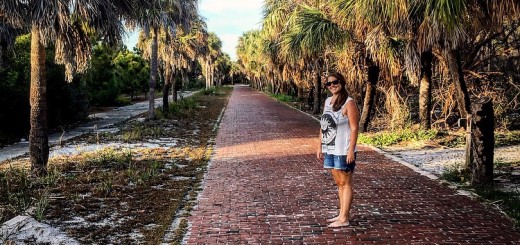
With everything installed and ready to go, I was able to go the market one last time, and Erik finally took me on our very first date out in gulfport! Here are a few more pictures from our time there.
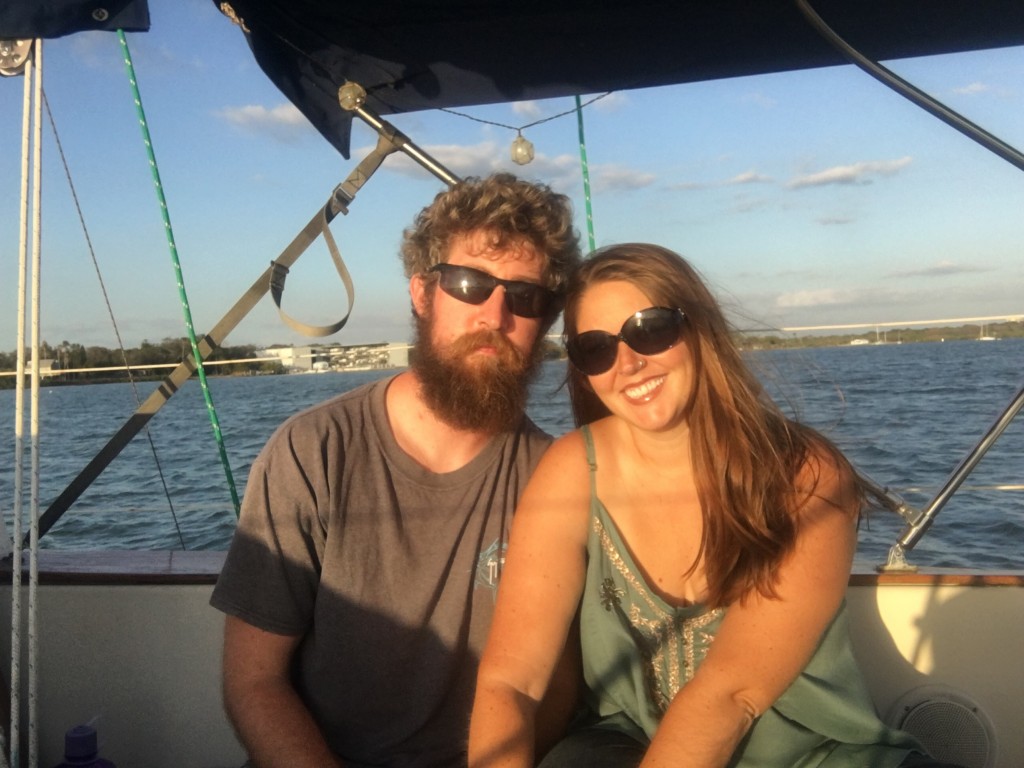
date night!
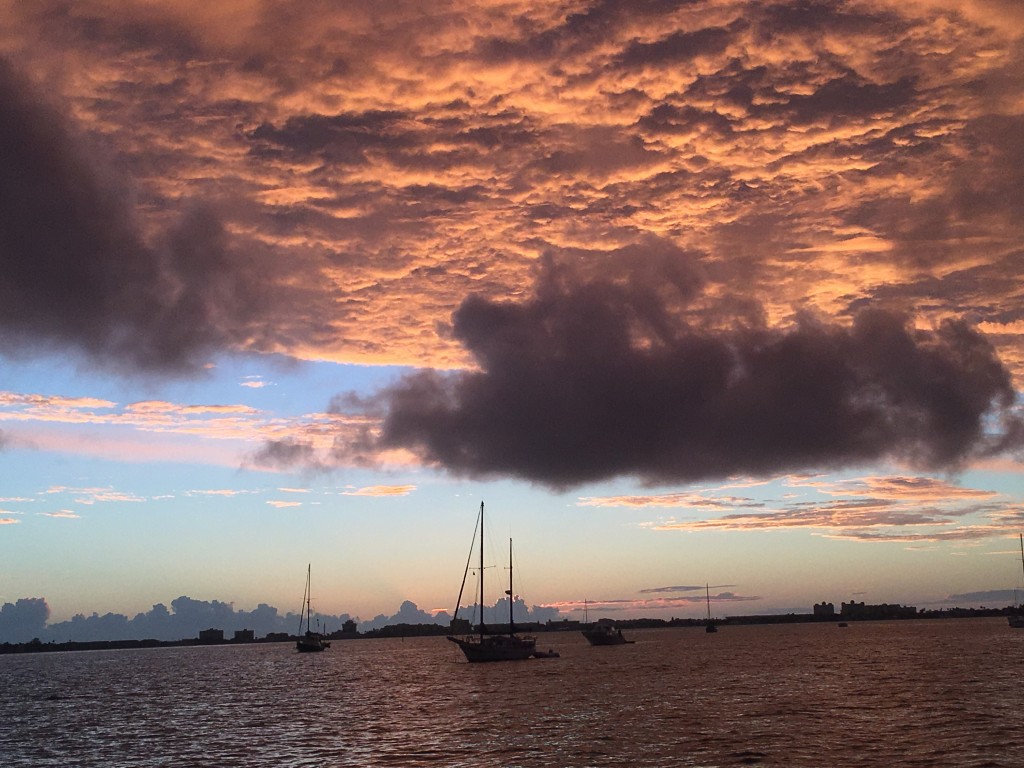
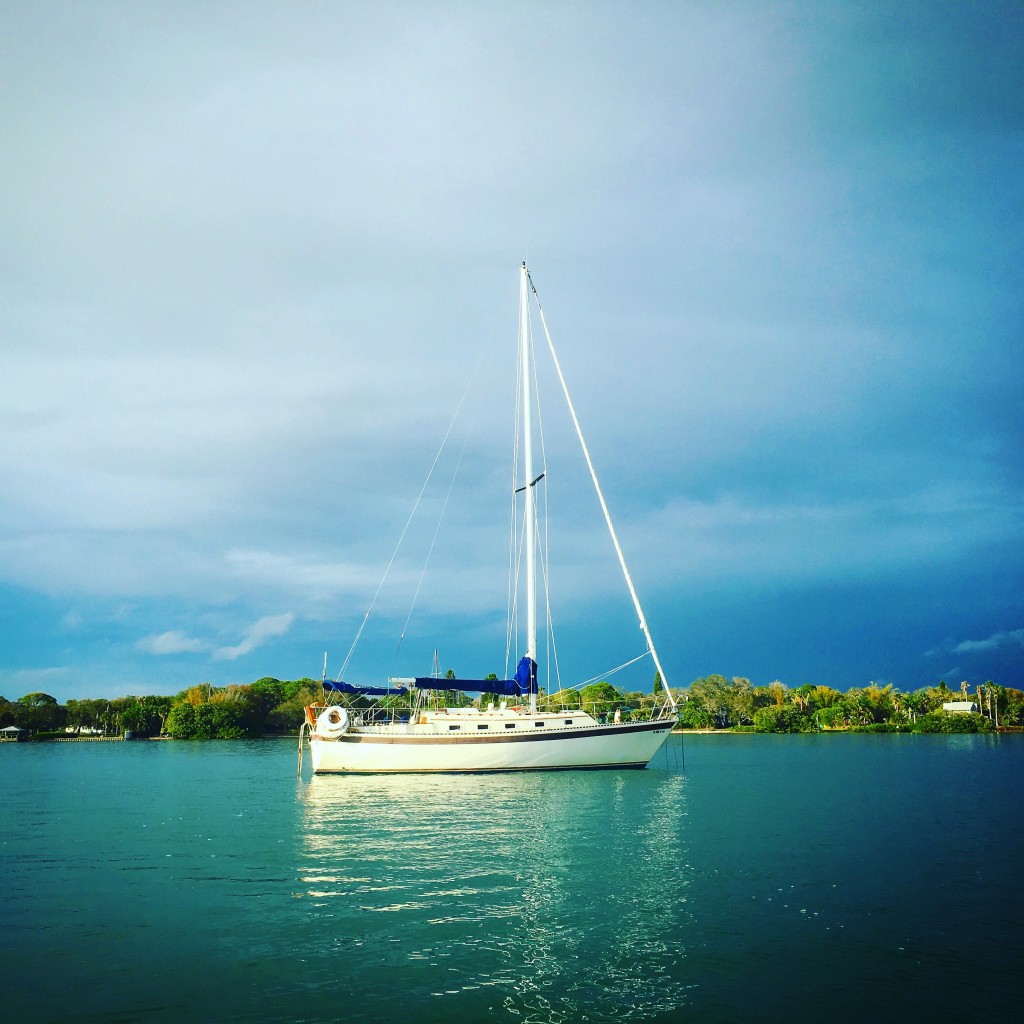
an awesome sunset
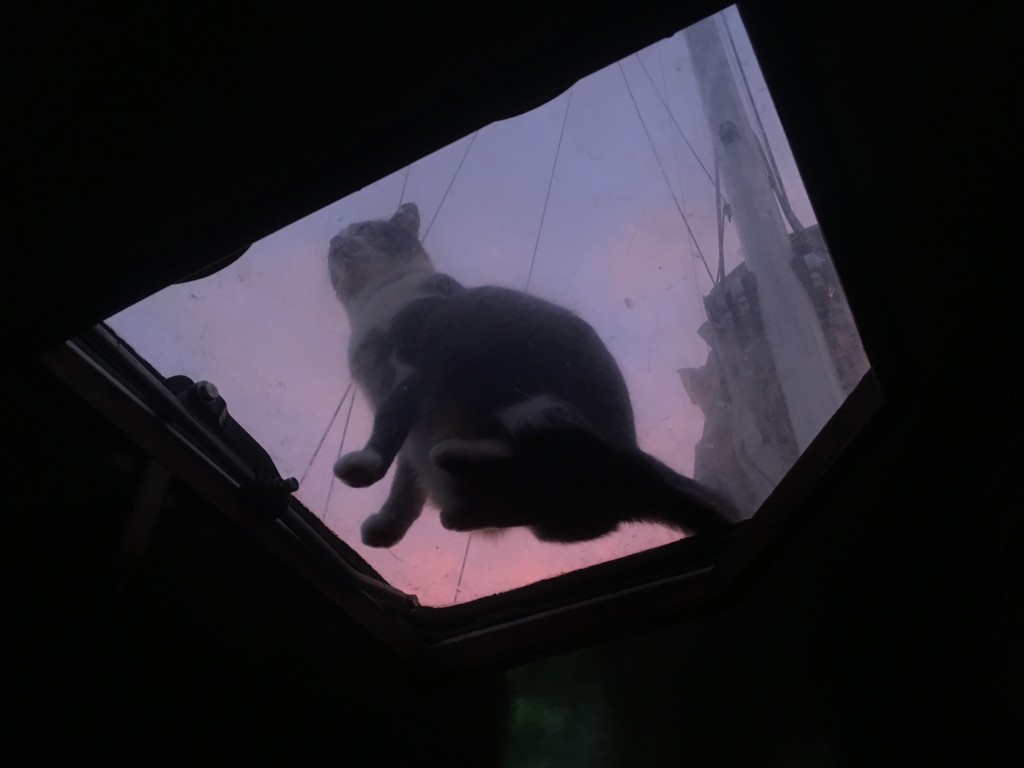
this is one of the funniest things to me.
“roar” – sammy the sailor cat

Recent Comments