
Epoxy Pots
It is our mission to make Ragnarok the most awesome sailing vessel in the whole united world of east TN to infinity and beyond. So we tackled a project on our to-do list: potting the handrails. Lemme break down what this means….
The top of our hull is a fiberglass/balsa wood/fiberglass sandwich (I think I may have previously covered this design, but I’ll go over it again for sanity’s sake). Any fixture that is attached to the hull is done so by secured screws,bolts,fixtures what have you that were well sealed when originally installed. However our boat is 30 years old, and what was once well sealed, may be letting water into the core. Since this is the basis of what has caused our “soft spot” of rotted balsa wood in need of a major repair, Erik decided to prevent any more rotting shenanigans by “potting” fastening points. We create pots by removing the original fixture, drilling out a hole much larger, filling with rot-proof epoxy, then re-drilling the hole through the new epoxy pot. This way in the future if the seal does start leaking again it will not come in contact with balsa wood which means no more rotting soft spots!
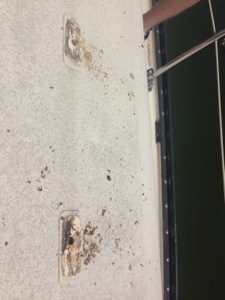
I was excited to see how this project would turn out since it is similar to the task we will take on when we do the deck core repair. We started on the starboard handrail (the port side is where the soft spot is, and it goes under both handrails). We popped of the wooden caps that once sealed the screws so well and screwed out the screws to remove the handrail. Then Erik went through with his large drill bit and started to drill out the holes.

There were 7 screw holes and 6 of them were completely bone dry! Great news! There was one that looked like just a tiny bit of moisture was getting to the wood, but we scraped inside of the fiberglass until we got to dry balsa wood, so it will prevent any rotting. In the picture below, the bottom wood scrapings appear darker than the one in the upper. The bottom was the one with moisture. So glad to have got that fixed!
So after we drilled out the hole we scraped out the inside of the hole even more. Erik cleaned the mess up with a handheld vac and some tweezers and then we were ready to make our epoxy mix! The epoxy plan was to make the regular epoxy (3 parts epoxy, 1 part hardener) which is pretty runny. We were to inject the runny goo in first, let it set/soak for a couple min, remove the epoxy, add a thickener and then re-inject. This makes sense to me, so that with the runny stuff it can reach all the nooks and crannies and then the thickened stuff gives it bulk.
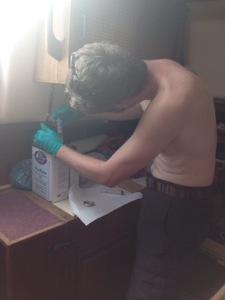
Erik making an epoxy batch.

injecting epoxy into our drilled out pots
While Erik was watching the epoxy harden (believe me folks he tended to it for the next 50 min) I decided I wanted the Bimini up! This is the shade cover. I thought it would have been much easier with a second hand but alas my partner was busy. After putting it on backwards once and getting bopped in the head a few times I did it!

Ahhh! It looks and feels so good!
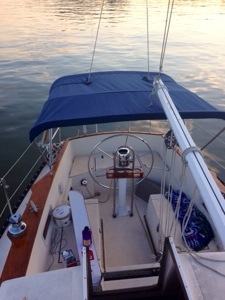
Bimini up, and more finished brightwork added! Cupholders and little wooden inserts. Looks slick!
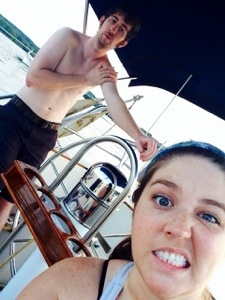
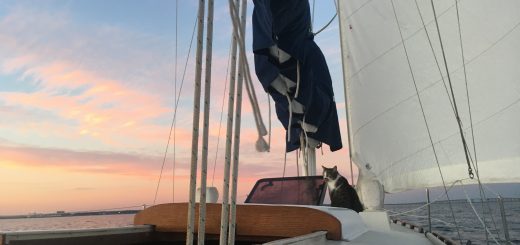
Enjoying dusk after a long hot day spent working on the boat.
So overall it was a good experience in playing with fiberglass, messing with balsa wood core, and mixing epoxy which I believe will all be crucial in THE BIG PROJECT. Can’t wait to tackle that… whenever the weather cooperates!
After spending all this time working on the boat, I can’t wait for a float trip soon, Erik owes me (because really I do all the hard work, it’s not easy being moral support 😉
Hi CJ, Eric, I’m so glad to seeing you two work hard on your vessel, I spent too much of my young life on yard work and gardens that were gone by winter, you will have a beautiful trustworthy yacht to show for your efforts, Keep up the good work. Love Dad