
The most painful and prolonged project
Well that took a lot longer than expected! When I last posted over 3 weeks ago, I was hoping that the boat would be finished that weekend. But if I’ve learned anything about boat work, it is that it’s never really finished. I’ll try to recap the last whirlwind of a month best I can, but i’ll probably exhaust myself just typing the story.
So there we were, boat sanded and blisters filled. I was ready to slap some paint on the old lady but there were still some issues that needed addressed. The issues consisted of all the things Erik destroyed over the long winter. (Please believe me when I say that they were issues that truly did need addressing, but were a huge pain in behind so I’m a little bitter about them) He ripped off the rudder (ok fine he disassembled it, but it resembled ripping to me) and found the stainless steel gudgeons were slightly corroded, one with severe pitting and a crack forming. Since we had them off we agreed it would be a good idea to replace them. Well Erik didn’t want them replaced with stainless steel, so he bought a bar of bronze and had a machine shop custom make them using some software he just happened to learn real quick like while he was working night shift one week. Bronze is a better choice because, heck I don’t have a clue, I was tuned out by that point. Finding a machine shop that could do this task was a pain, almost all the ones he called dismissed him claiming they were too busy for his project. Well we finally found a shop that was willing and capable (needed a special laser cutter) but we could tell they were extremely busy. We didn’t get our gudgeons until the weekend the boat was supposed to be in the water. And after further inspection the gudgeons were… well.. a little off. They weren’t perfect, the threads were weird, and one was too thick. So Erik spent a great deal of time with his angle grinder and dremel reshaping these jerks. He got them where he liked finally, but yep it sure does suck being a perfectionist and not being able to do things yourself because you don’t have the proper equipment. The task of fitting the gudgeons was tedious and obnoxious. And once that was complete, Erik had to re-assemble the steering quadrant (which was ripped out in the proccess of ripping off the rudder). He saved this task for right before we launched, it was a pain in the butt too.

The thru-hulls also needed to be installed. I mentioned we got all new fancy bronze thru hulls, but Erik decided he would make custom backing plates out of G10, which is basically fiberglass boards made of a special glass epoxy laminate that has extremely high strength. So Erik spent time cutting each plate into the triangle shapes of our flange and then cut out 3 hexagons for the bolts in each one. Then the sorcery comes into play. Caution: this part of the refit sorta kinda whizzed right over my head, so I have no idea what I’m really talking about or what really happened, as far as I’m concerned there was magic involved. Anywho… Erik said we needed carnauba wax to wax the threads and bolts of things we didn’t want epoxied together because the first step of the assembly line was to epoxy the G10 plates to the hull. But of course we needed to keep the thru hulls and bolts tight to the plates to ensure proper placement. So we waxed all those bronze boys up and held our breath. Mainly because epoxy fumes leave you a little light headed. And in our mission to quickly epoxy all backing plates, we mixed a much much larger batch of epoxy than we were used to and then it spontaneously combusted and melted the solo cups right before my eyes. Pretty typical, right when you think things are going smooth you get reminded you’re wrong. And of course we used up all of our silica thickener in that batch, and west marine was closed for the day. Le’sigh.
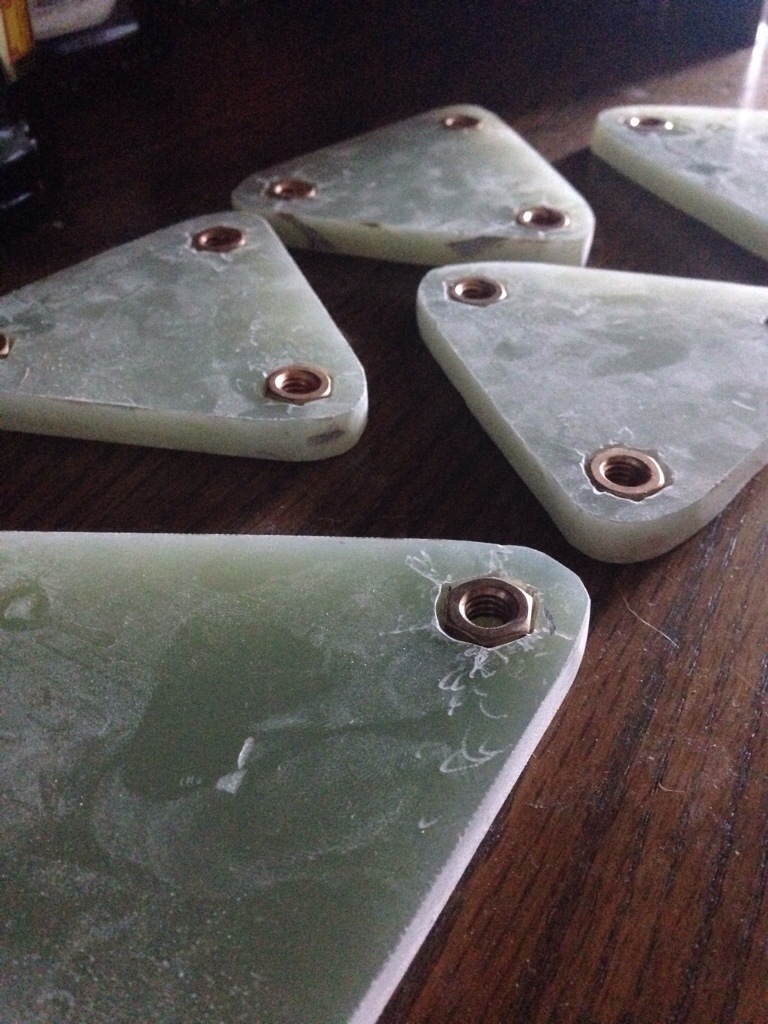
custom g10 backing plates
Ok so round two went really smooth and we finished up with the backing plates. We cleaned our waxy bronze by boiling it with a bit of dawn and it worked very well. The next course of action was to use a sealant to seal the thru-hulls in place. We chose 4200. We slathered up the outer thru hull and inner flange. And then we used gas line tape (you know, cuz it’s stronger and thicker than plumbers tape) to tape the threads of the adapters.
Oh and once the thru-hulls were in place we needed to re-pumb the boat. Ok the only part we needed to replub immediately to get the boat in the water and moving was the raw water intake. We also de-winterized the engine, and couldn’t exactly remember which was the intake or outtake lines from the engine, so we had to switch those when we didn’t get any water exhaust after the first try. But then we didn’t get any water exhaust after we switched them either, which of course meant something was wrong with the impeller. Which meant disambling part of the engine and pulling that sucker out (if anyone has impeller pulling tips and tricks PLEASE post in the comments, would love to know how you deal with those jerks). There was a small piece of old impeller stuck so once we got that out and switched the lines one more time (we were right the first time after all!) we finally got the good old water exhaust which means water is being correctly pulled through the engine to cool it. PHEW.
But of course! I’m leaving out the part of sliding back in the water and noticing something is leaking. We reversed her down the tracks until all the thru-hulls were below the water line, then checked before we pulled her off. And that’s when Erik noticed a wee bit of water. Nothing to panic over, thank god, but where was it coming from? The one and only thing at the water line Erik didn’t rip out: the prop shaft rudder box. So basically this shaft thing holds this propellor thing in the boat, and the stuffing box keeps the spinning shaft cool. Sitting still there should be no water dripping, but when in motion a drip per minute indicates proper water flow to cool. It’s a small contraption that is full of a waxy threaded up material or the “stuffing”. Erik recognized this problem immediately right as I started having a mini-meltdown, but apparently this is quite common when your boat has ample time to dry out. So off he went to west marine to stuff the box.
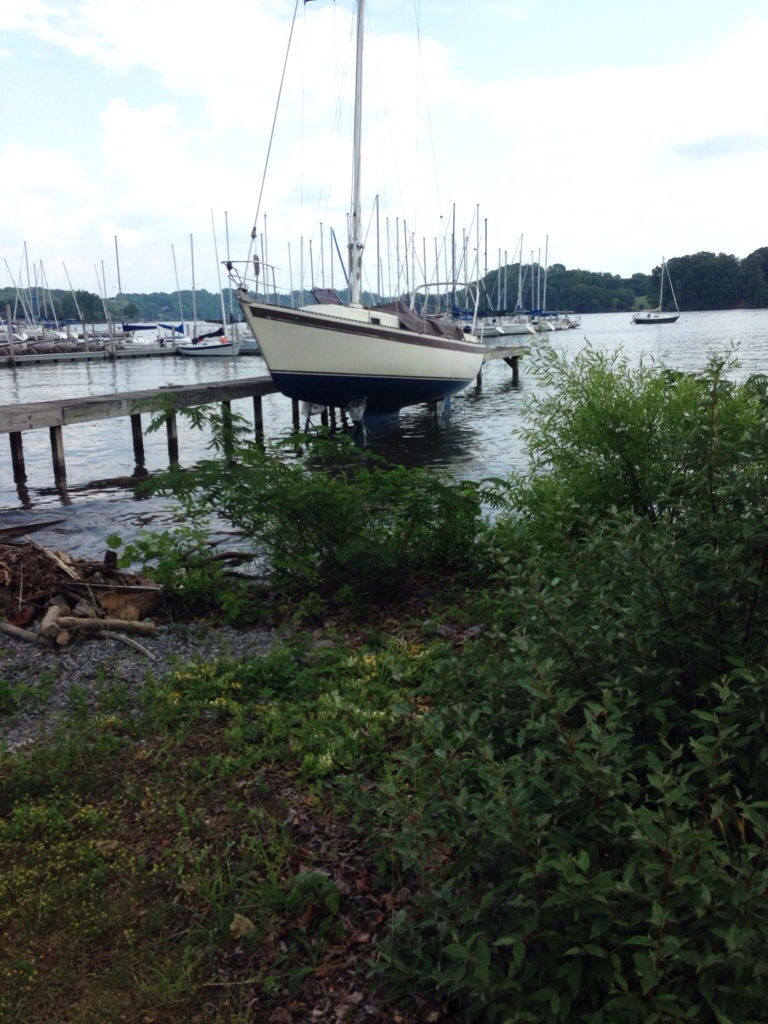
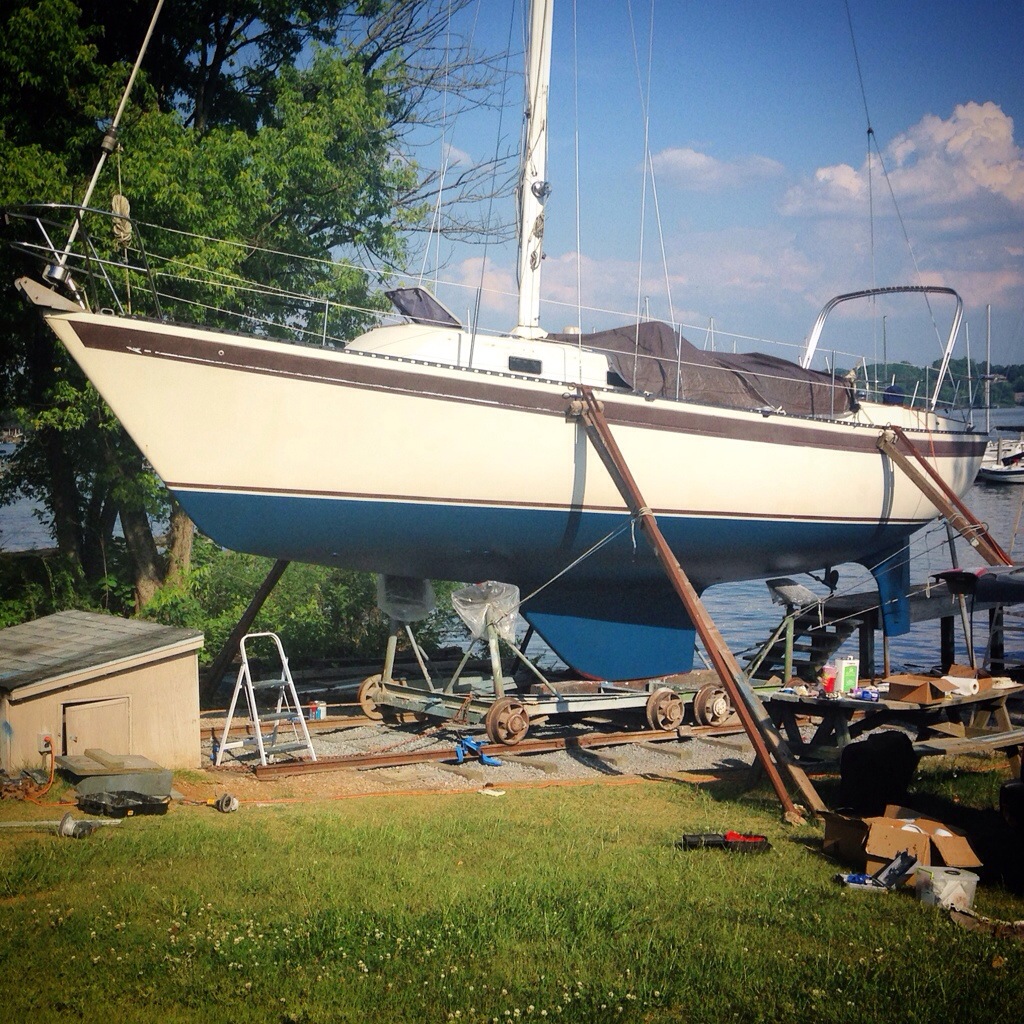
half in, half out. this is where she chilled while Erik restuffed her prop shaft stuffing box
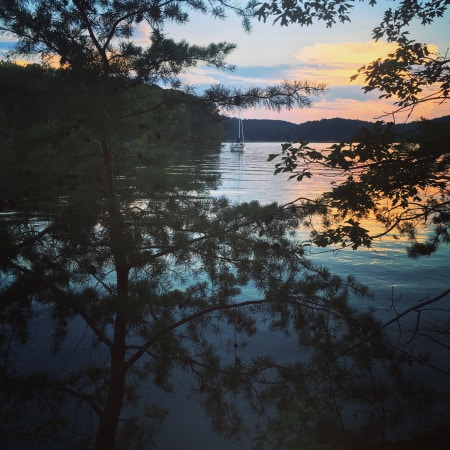
Ok so all of the things above weren’t really in chronological order, just grouped together by task. So once we sorted out all our issues we headed to a mooring buoy. We gave up our slip mainly because we are thrifty, and if we wanted to keep our slip we would have had to pay the monthly slip fee when we weren’t using it and that seemed like a waste of precious dolla’ dollar’ bills yo. Plus I think being on a buoy will push us towards self-sufficiency and not relying on shore power (aka get our solar hooked up) and get us used to using a dinghy. The dinghy I’m talking about here is fictional, it’s made up, we don’t have dinghy. But we are on that bouy. Erik brought his tiny squirt of a whitewater playboat and I paddled it, he swam to shore the night we put it on the ball. And until we get a dinghy that seats two, Erik will be the only visiting the boat. So there! I know I left out a whole lot too. Things like the final sanding I spoke of in the last post wasn’t really final, Erik filled and sanded and cleaned like three more times. We filled in one old thru-hull we no longer needed with G10 and fiberglass. The bilge was cleaned, epoxied, fiberglassed, sanded, cleaned, and painted. More fiberglass was added to the skeg for additional reinforcement.
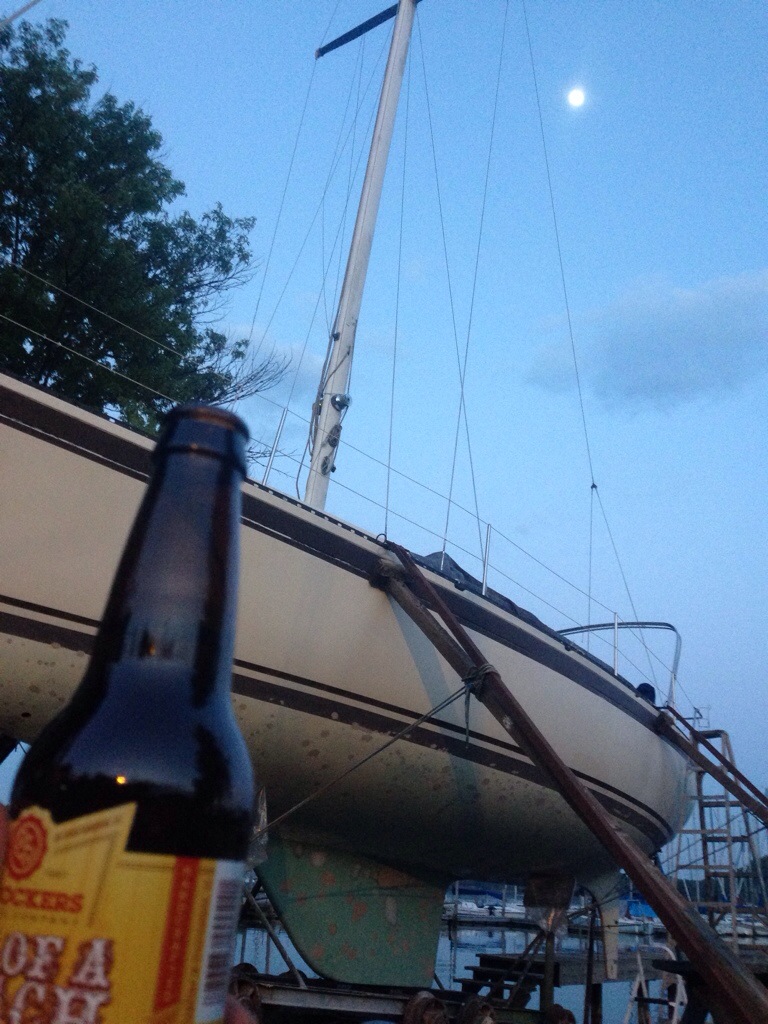
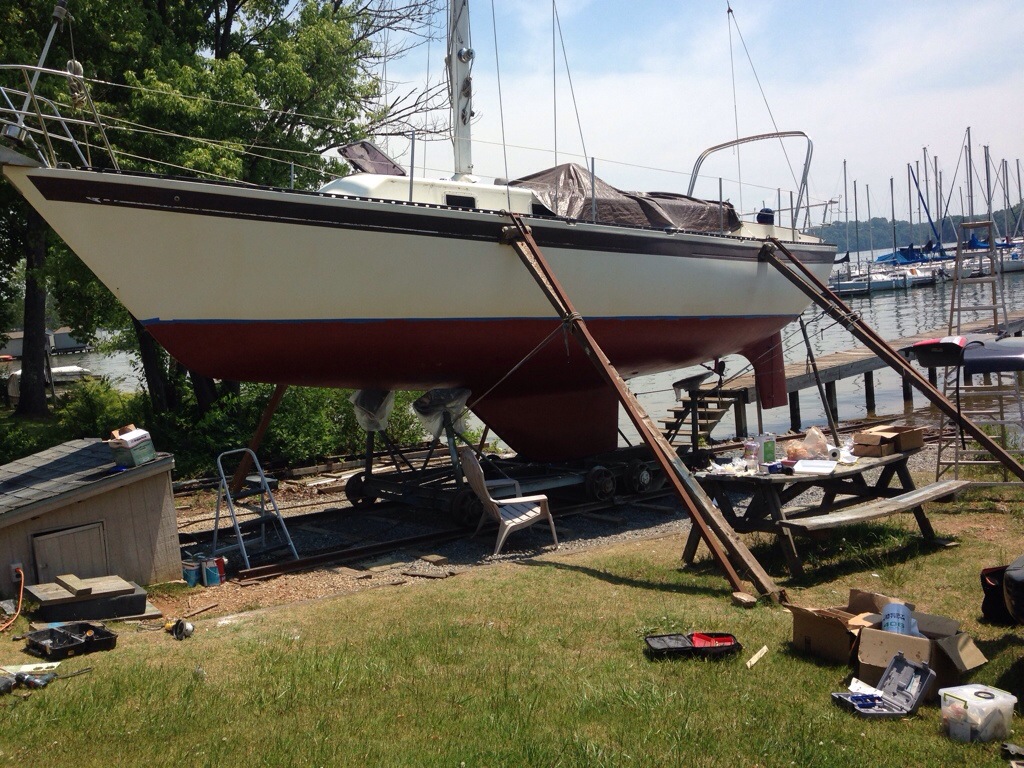
the night of prep work right before we were ready to start painting.
And I haven’t even covered the painting. That which seemed the most daunting task of all was a walk in the park. We did 7 layers of barrier coat, alternating white and grey to ensure proper coverage. One person would roll on the paint, and Erik would “tip” the paint. Teresa came and helped quite a bit with the painting which was so helpful!
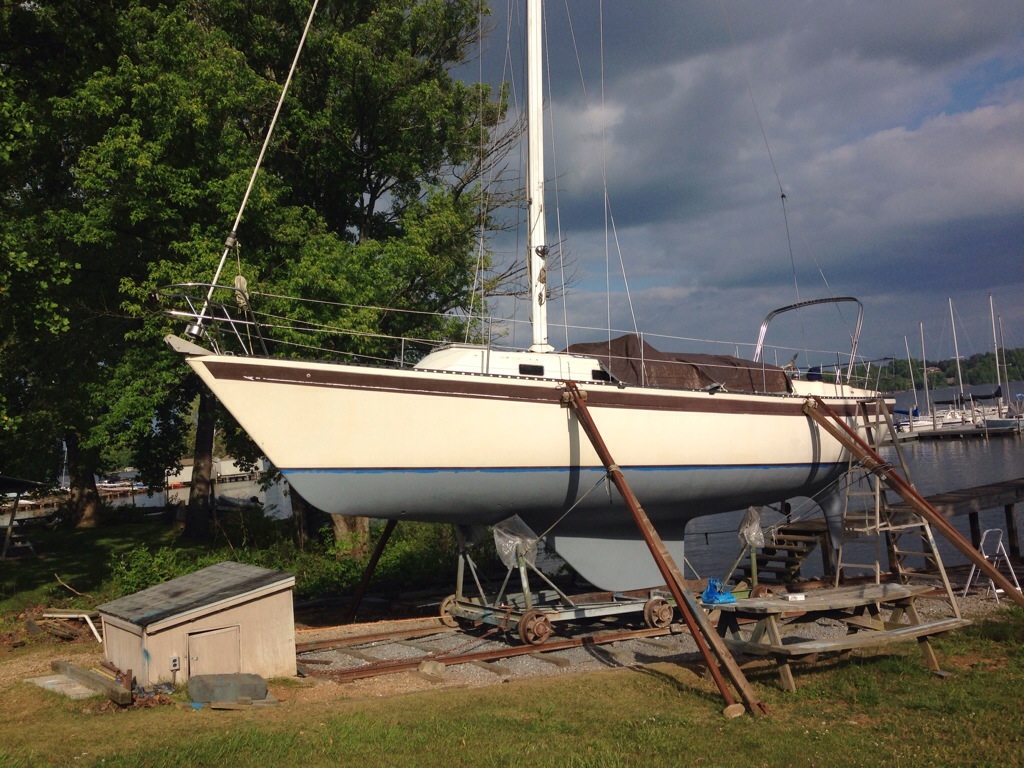
 We were so so so so lucky to have the perfect weather for 2 weeks in a row. We put on two layers of a hard top coat, starting with red, finishing with blue to again ensure proper coverage. Then we got creative and threw a dashing red line at the bottom of the keel since we had a smidge bit left over, and I don’t think people practice boat art enough.
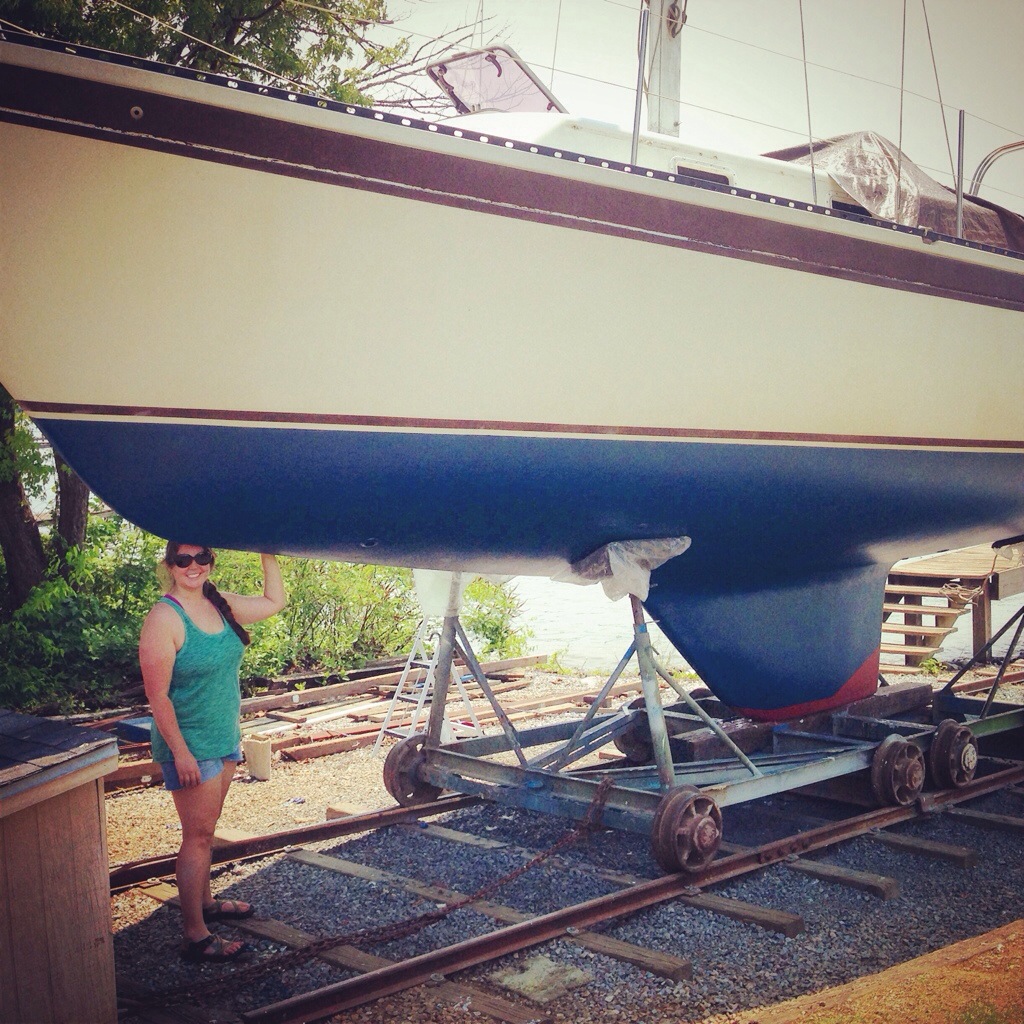
check out that sexy red strip on the keel
Ta-da! It’s all done, and it’s all been extremely well done. Erik didn’t cut any corners or take any short cuts, even though I may have suggested it a few times. And Ragnarok looks amazing! It’s so great knowing that we did all that work ourselves. It’s also great knowing I have such an extremely determined and hard working man at my side. This whole experience has been overwhelming and we truly have learned so much. So glad she is floating, and from here on out bottom jobs should be a breeze. I’m so glad we were able to give her the TLC she needed.
Amazing job guys, you are really an inspiration. Let us know what your plans are with the boat for the months and years ahead. Congrats and fair winds. Bill H., Alohalani, A34